Individual 3D Printing Project
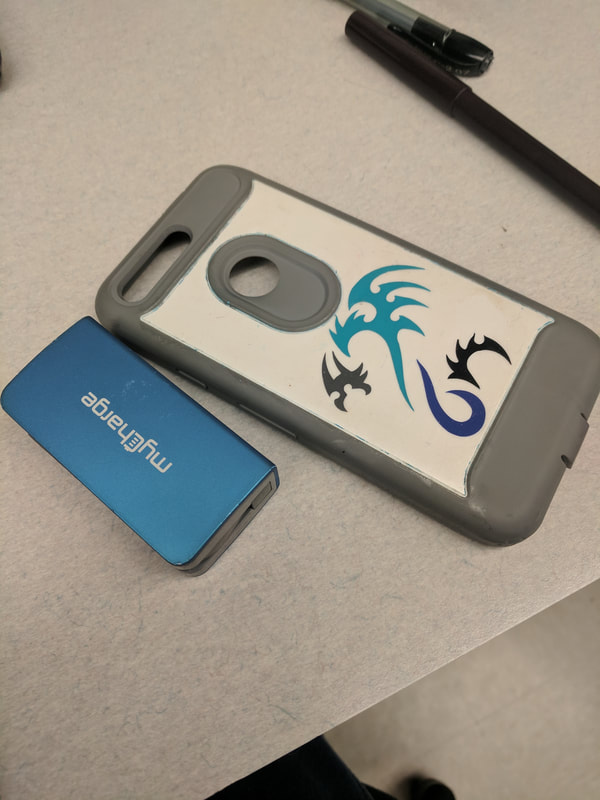
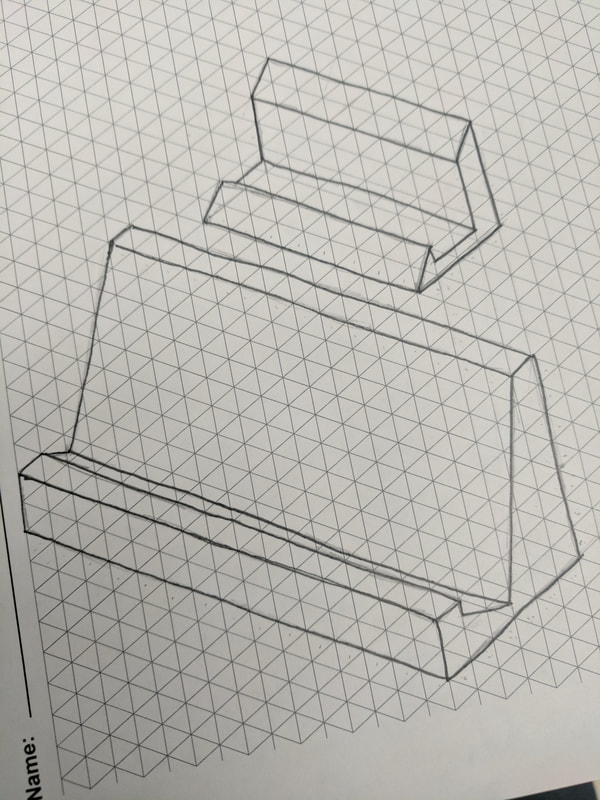
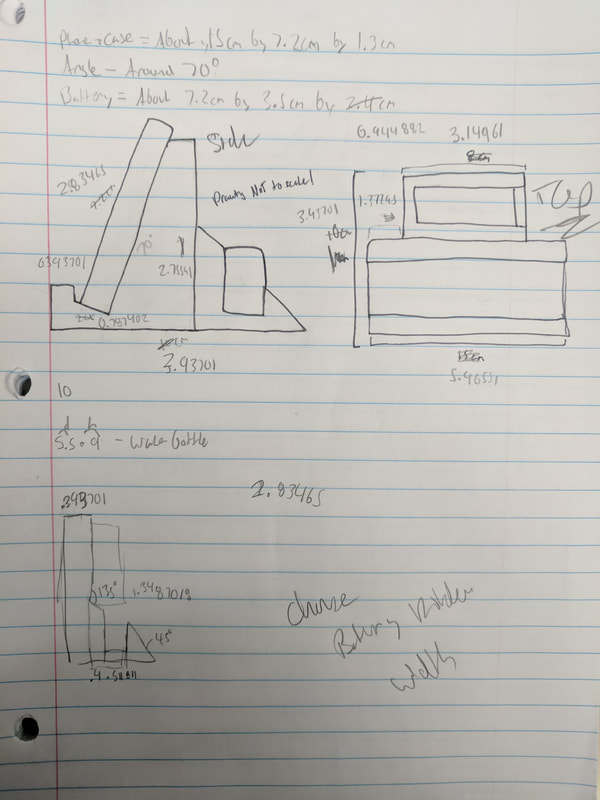
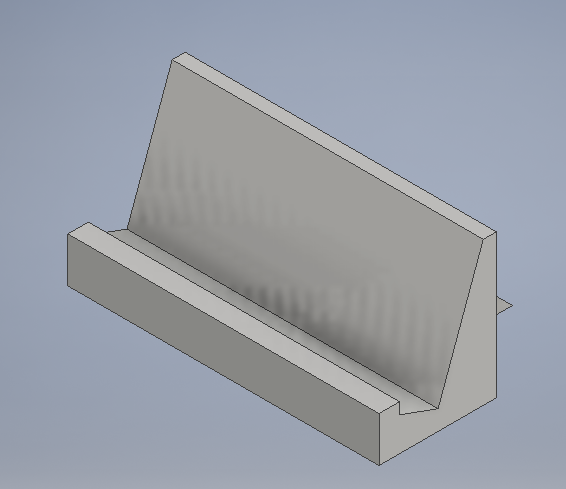
The first thing that I did was find out which project I wanted to do. I went with the phone stand, since that would be the most useful for me, since I like to watch a lot of videos. I also have two portable batteries, so I decided to make a part for holding one too. I took measurements of my phone with the case on, the angle that the phone would lean at, and measurements of the batteries. I sketched it out on some paper, and drew it about to scale(not exactly).
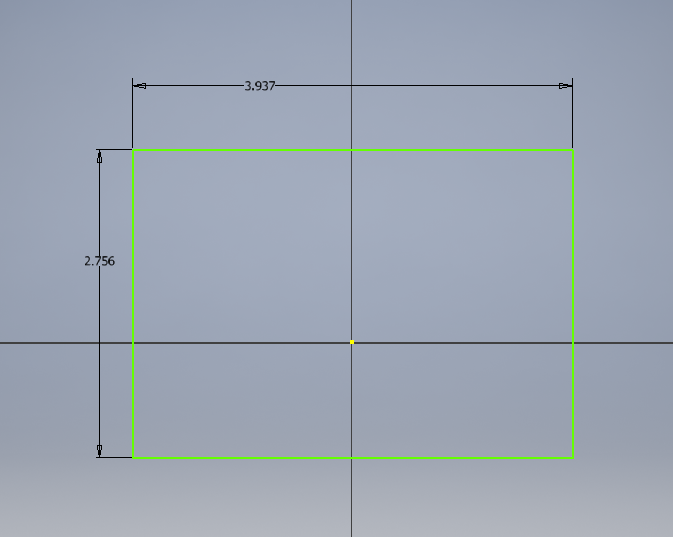
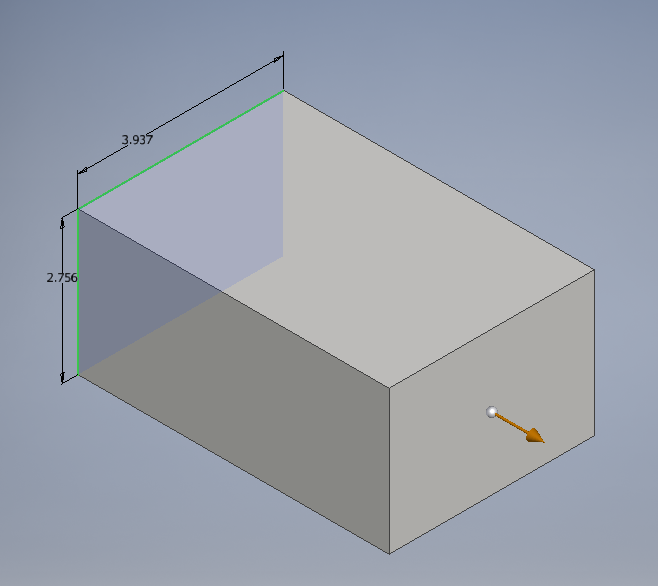
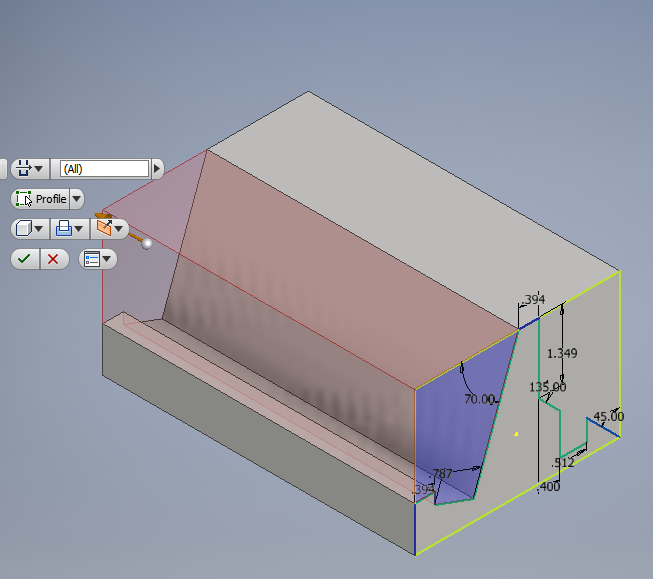

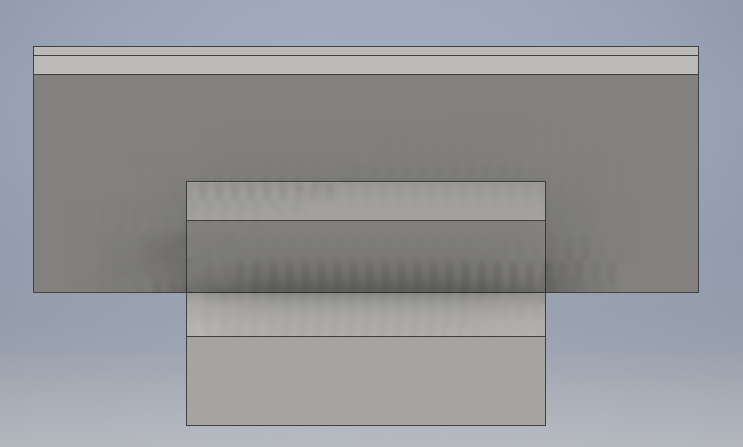
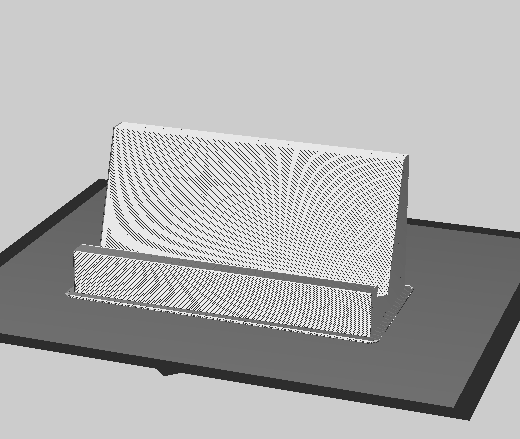
Next I began putting the design in Inventor, and sketching out block, then adding sketches, dimensions, and finally extruding those parts. After I had done that, I took a few snips using the Snipping Tool on the computer, and saved the phone stand as a STL file. After that, I opened the STL file in the Makerbot program, and tweaked the scaling and the layout of the phone stand. Once I was done, I exported the Makerbot file to my flashdrive.

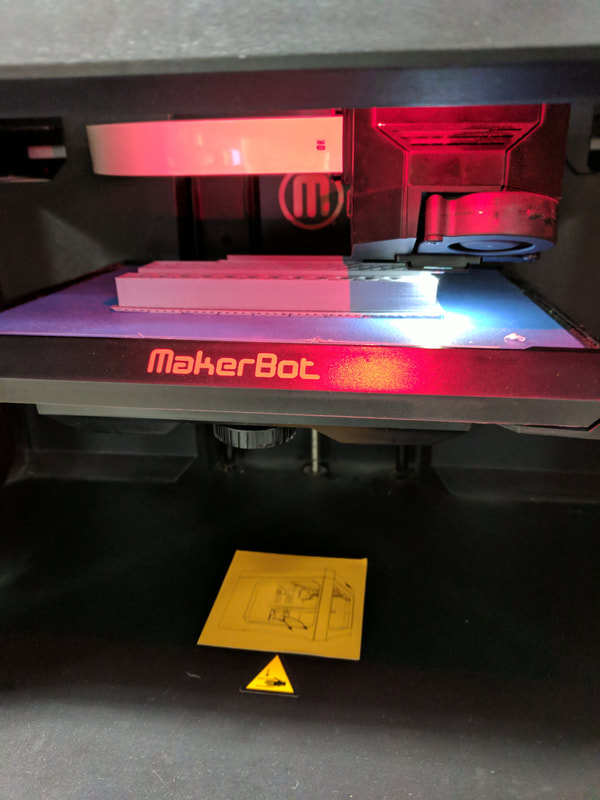
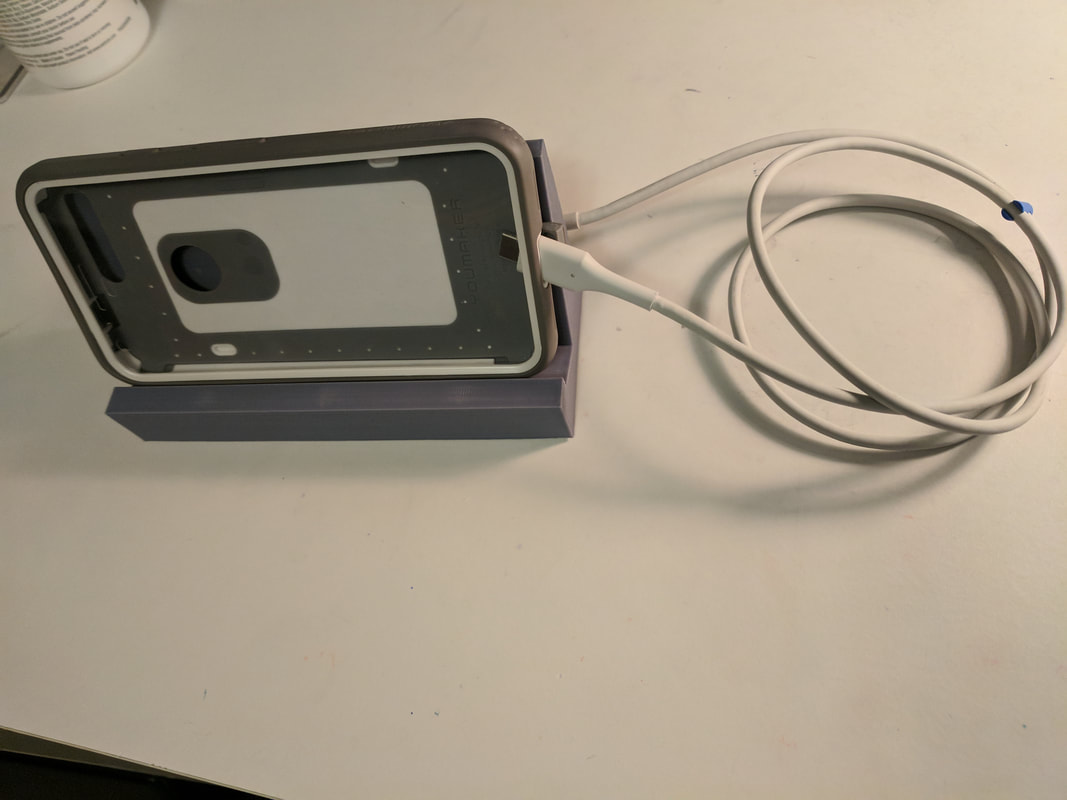

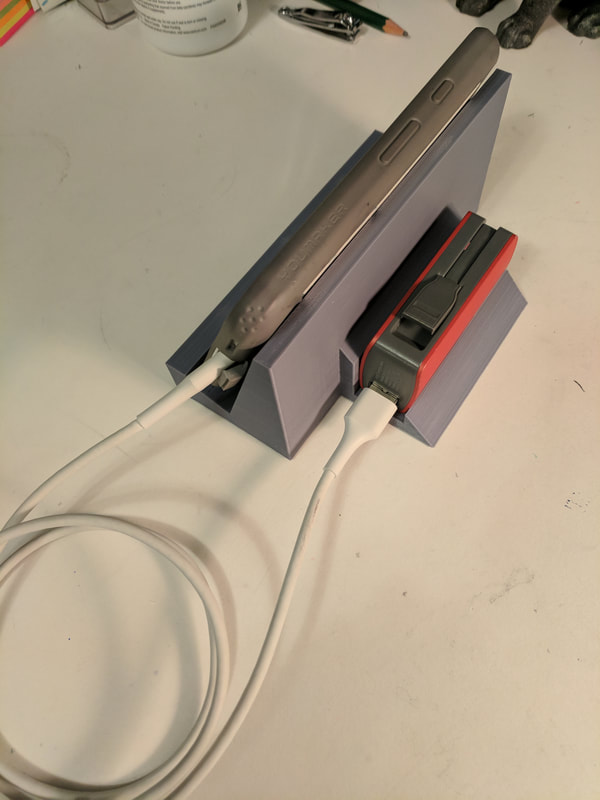
After exporting the phone stand file to my flash drive, I unplugged the drive from my computer, and took it down to the 3D printer. I plugged in the flashdrive, selected the print option, and then waited 7 hours for it to finish. Once I looked at it, there was something wrong- the battery holder wasn't big enough. I needed to go back and remeasure the battery. So I went back to the phone stand file, changed the measurement for the battery holder, and redid the process. After hitting print on the 3D printer, I hoped that it would work.
I learned how to make slightly more complicated designs in Inventor, and the three steps: Sketch, Dimension, and Extrude. I also learned that you should know whether to work in the Metric System or the Imperial System, so you don't need to be constantly switching back and forth. You should also check your measurements and measure accurately so you don't need to redo things for small mistakes.