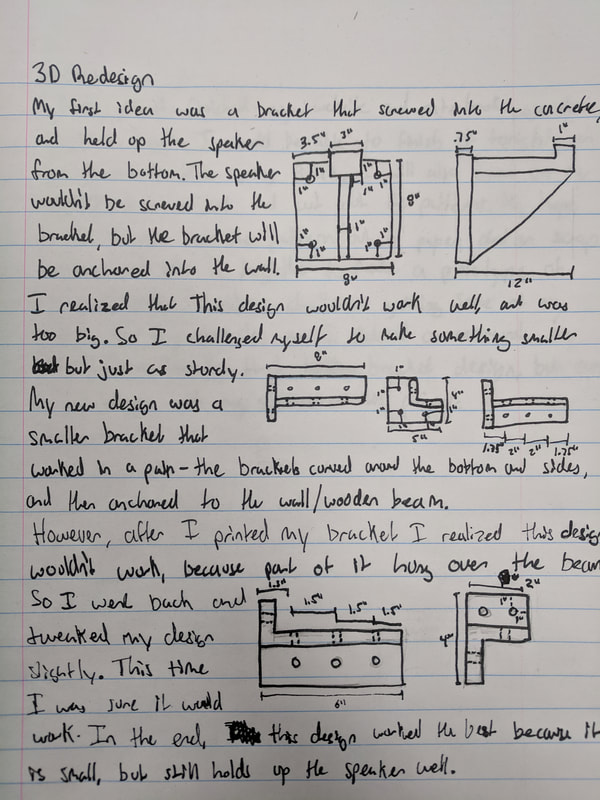
3D Redesign
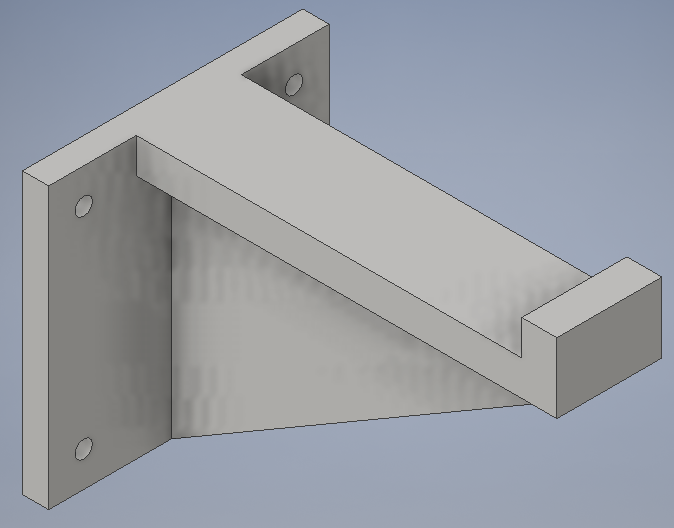
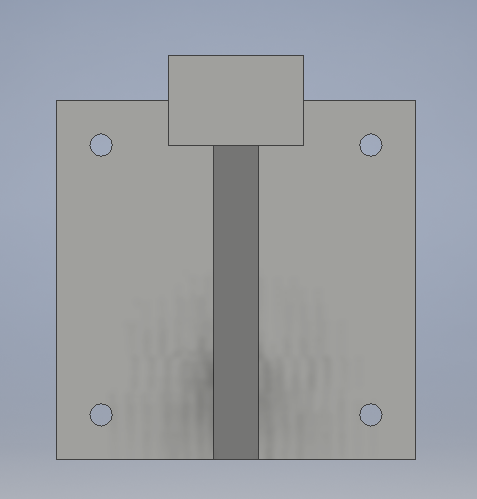
I first started my project by researching different speaker wall brackets. From there, I got an idea of what I should do for my redesign. My first idea was to do a bracket that was bolted to the wall and held up the speaker from underneath, and was not bolted to the speaker itself. As I was making it in Inventor, I decided to scrap it when I realized how much plastic it would use, how long it would take and how large it would be. So I went back and looked at the designs that I liked.
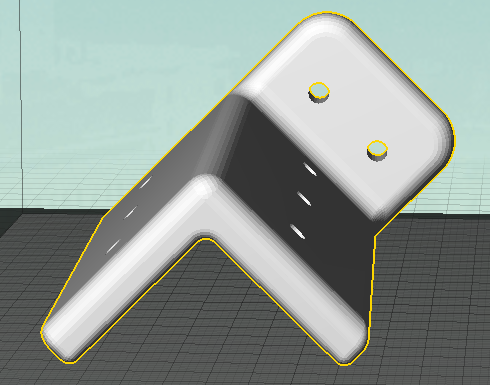
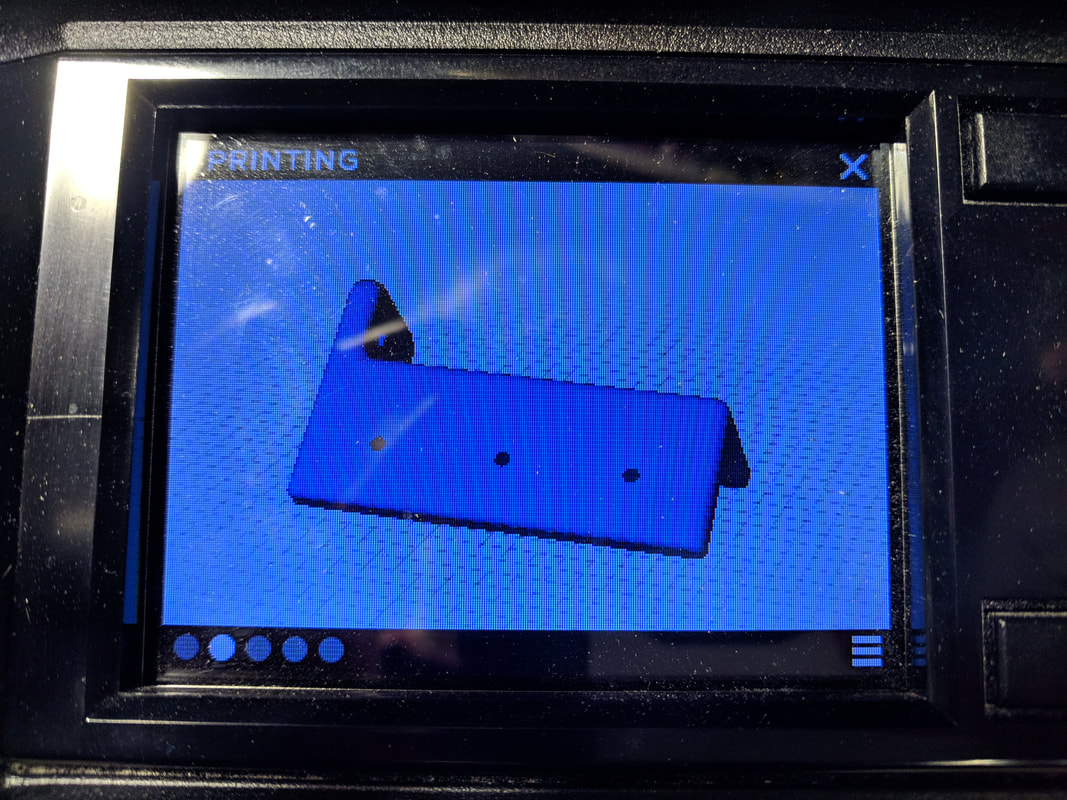
My next idea was to use two smaller brackets that were bolted to both the wall and the speaker. The brackets also wrapped around the bottom and sides of the speaker to give it more stability. I was able to fit this design within the smaller printers. Makerbot estimated that this print would take 15 hours, so it was done the next day.
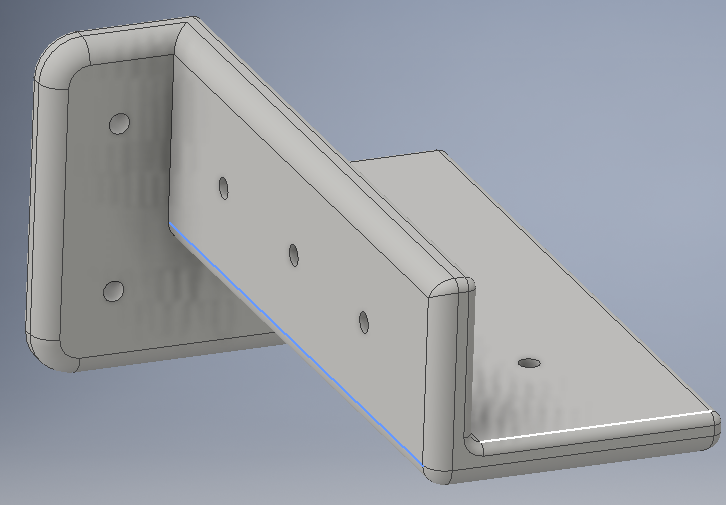
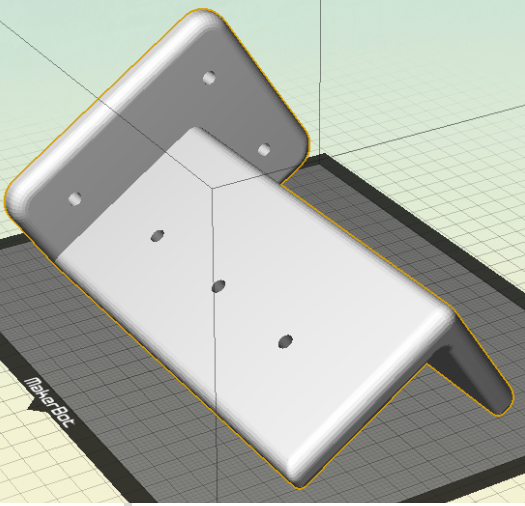
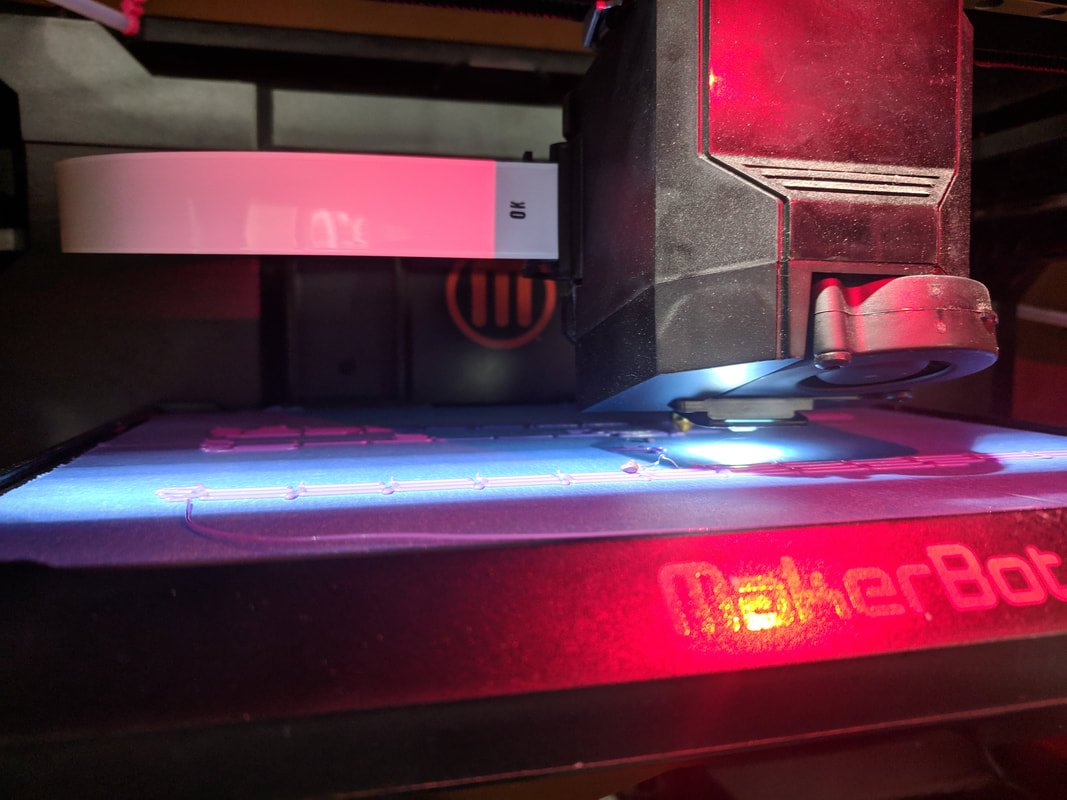
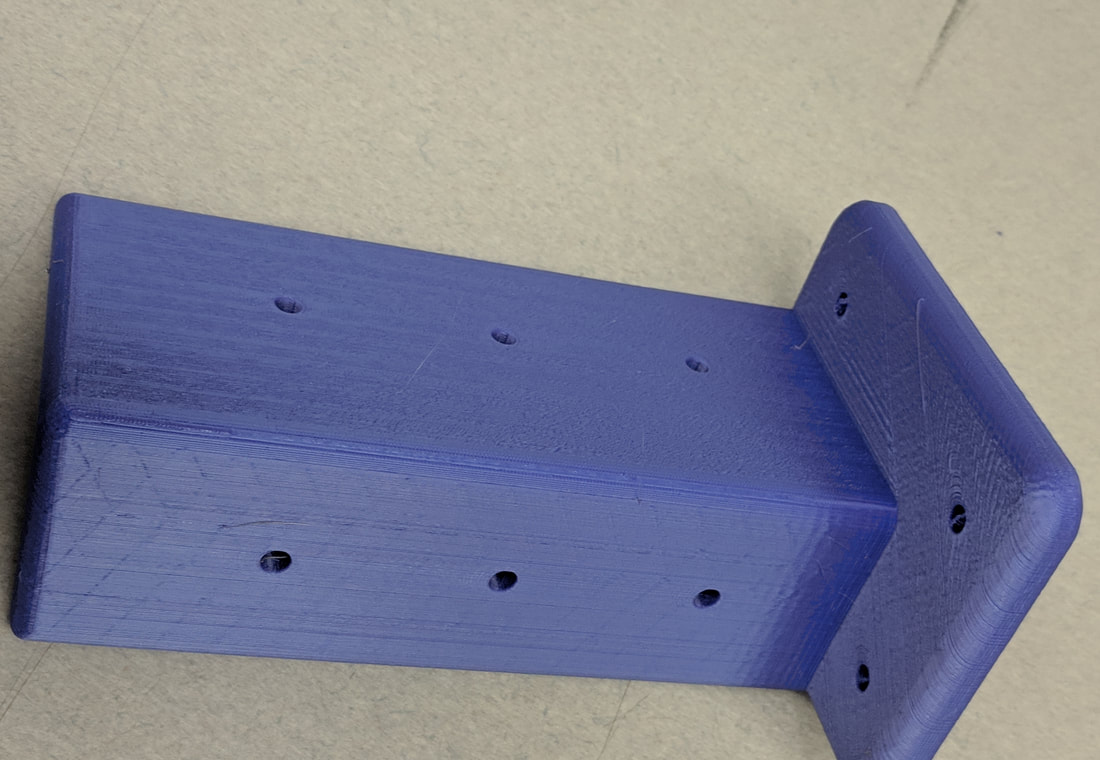
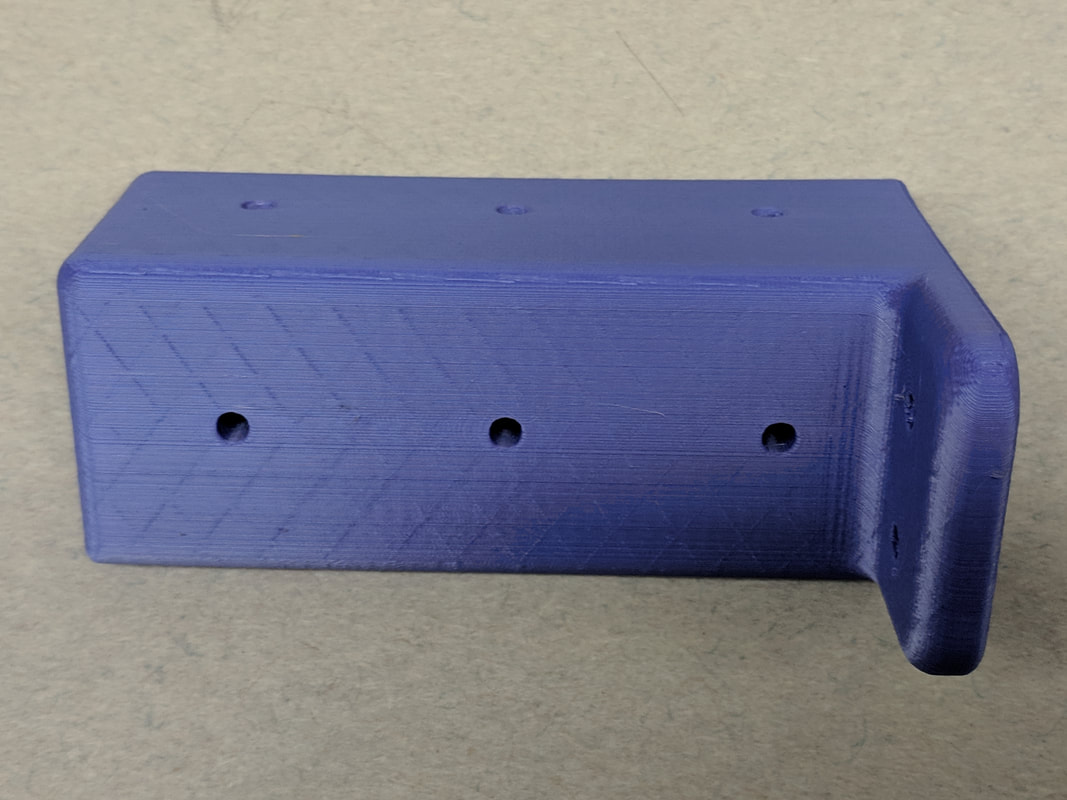
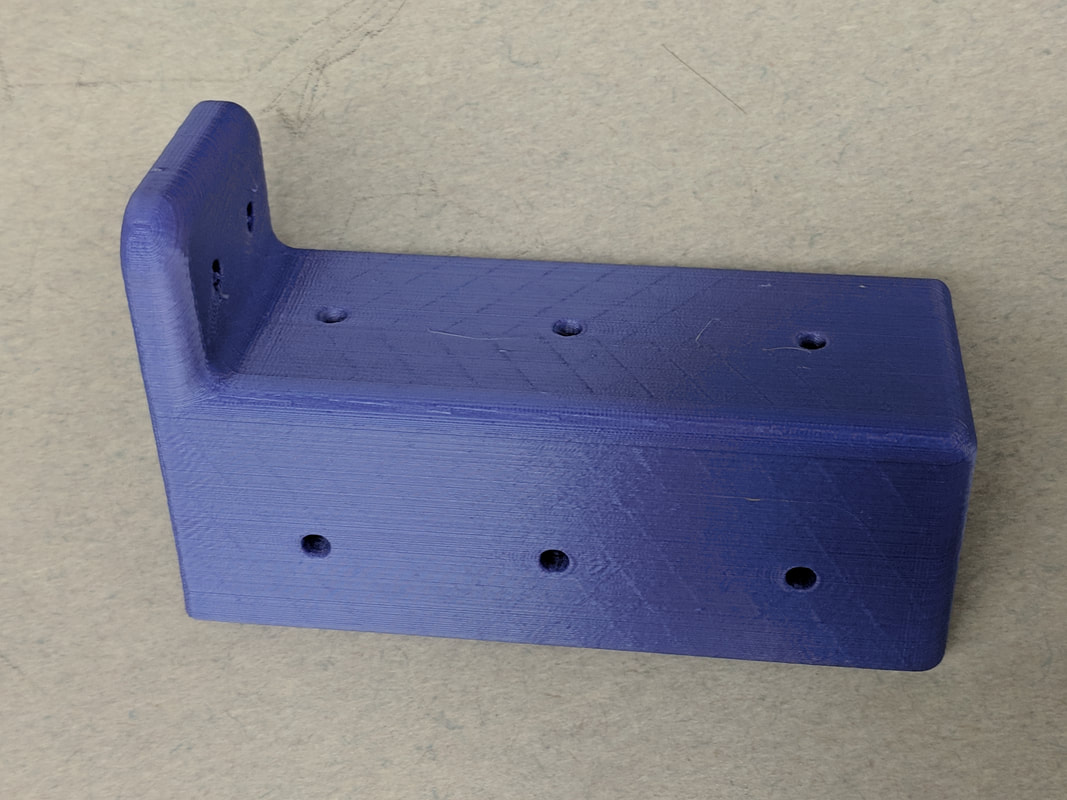
When my project was finally printed, I realized that it wouldn't fit on the wooden beam, so I had to go back to Inventor to change my design. I kept with using two small brackets to bolt into the wood, but I made the bracket so it would fit fully onto the beam. Another change I made was that I shortened my bracket from 8 inches to 6 inches. This time, it took only 7 hours to print, cutting the time to print in more than half.
I learned that making mistakes can be a good thing to help you learn in the future. I also learned that taking measurements is needed for a project like this where you need to be specific. My project design was good, I just didn't measure correctly. But when I went back and redesigned my bracket, it went very well and now fits on the wall. This unit was also a refresher for Inventor and Makerbot, as it has been about a year since I have used the software. The last thing that I learned was that it is important to read/look over everything to make sure things are accurate.
Designer Notebook Entry
