Embroidery Project
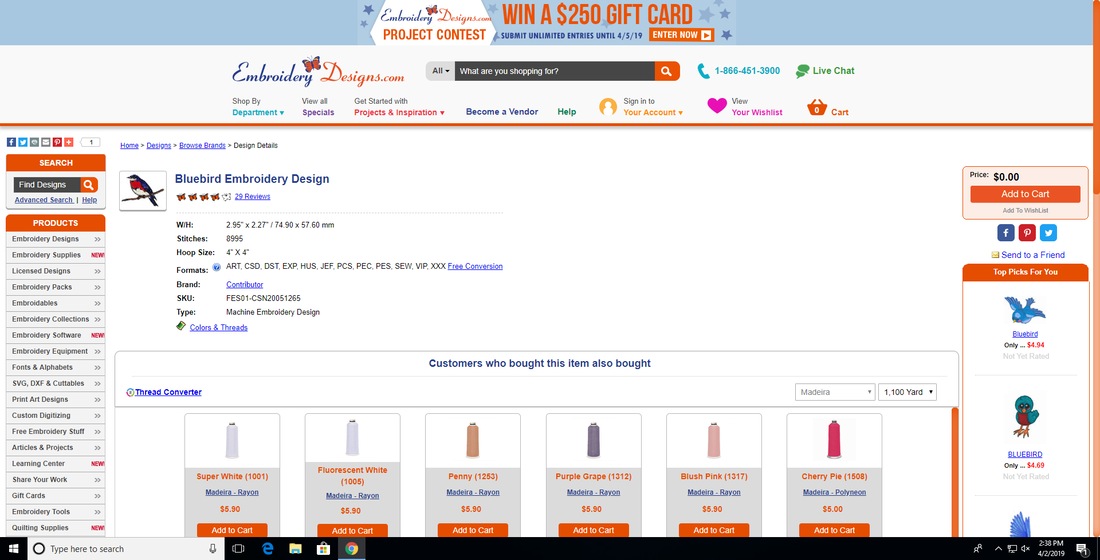
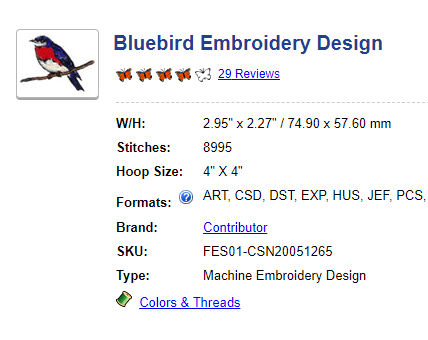
Our task was to find a free design we could use to have embroidered on a piece of backing, and that had 7-15 colors on it. The design had to also be a .DST file, so then the machine could read it. The first image that I found was a black phoenix, but it didn't work because it was a single solid color. The second one that I found I also really liked, and it was a eastern bluebird perched on a branch. I downloaded the file onto my computer, and then to my flash drive.
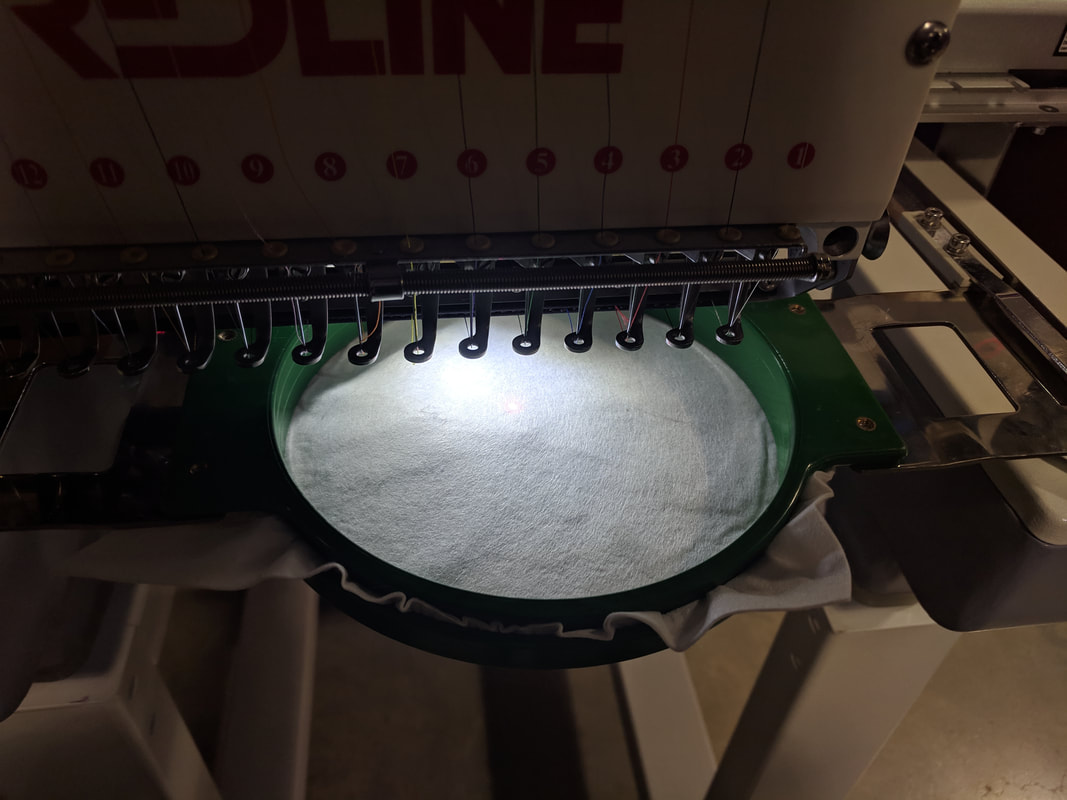
Setting the machine up was probably the hardest part, because of all of the steps required. First, the hoop needs to be taken apart, and then the correct size of backing has to be cut. The backing then gets put into the hoop, and the hoop snapped shut. Then, the hoop was inserted back into the machine, and if put in correctly on the metal arms, the arms should snap once on each side. Once the hoop is in place, the thread colors on the machine have to be set correctly, and then the design can be uploaded.
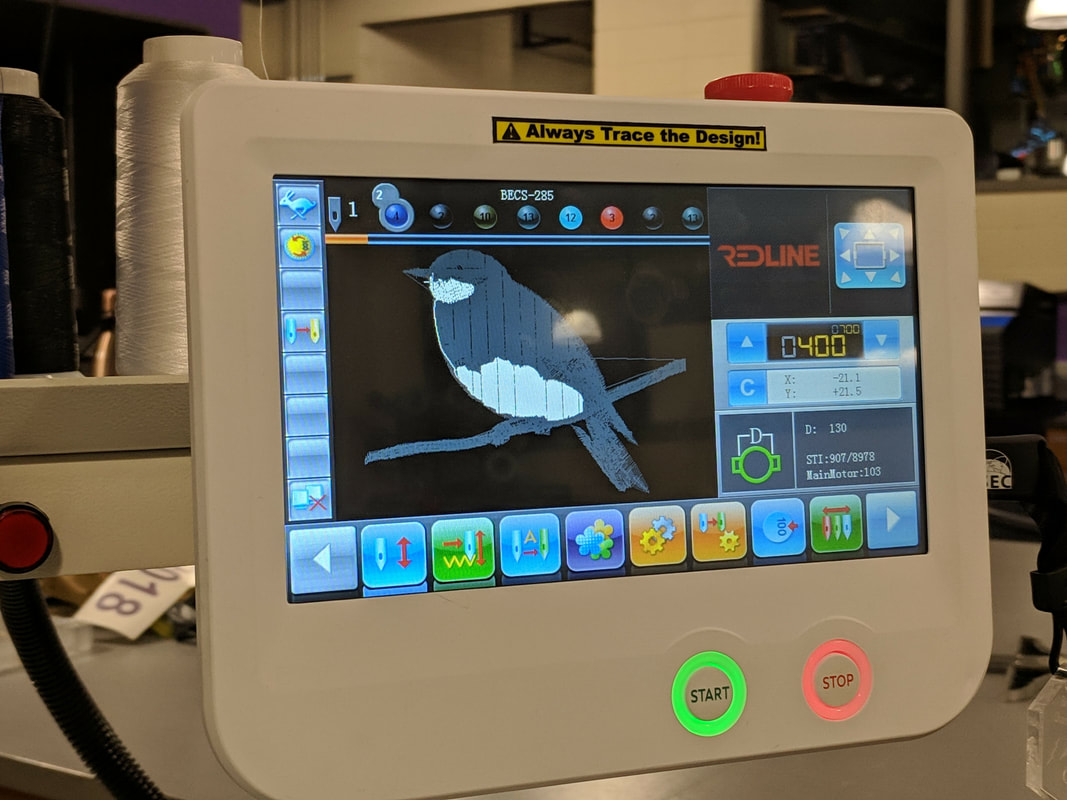
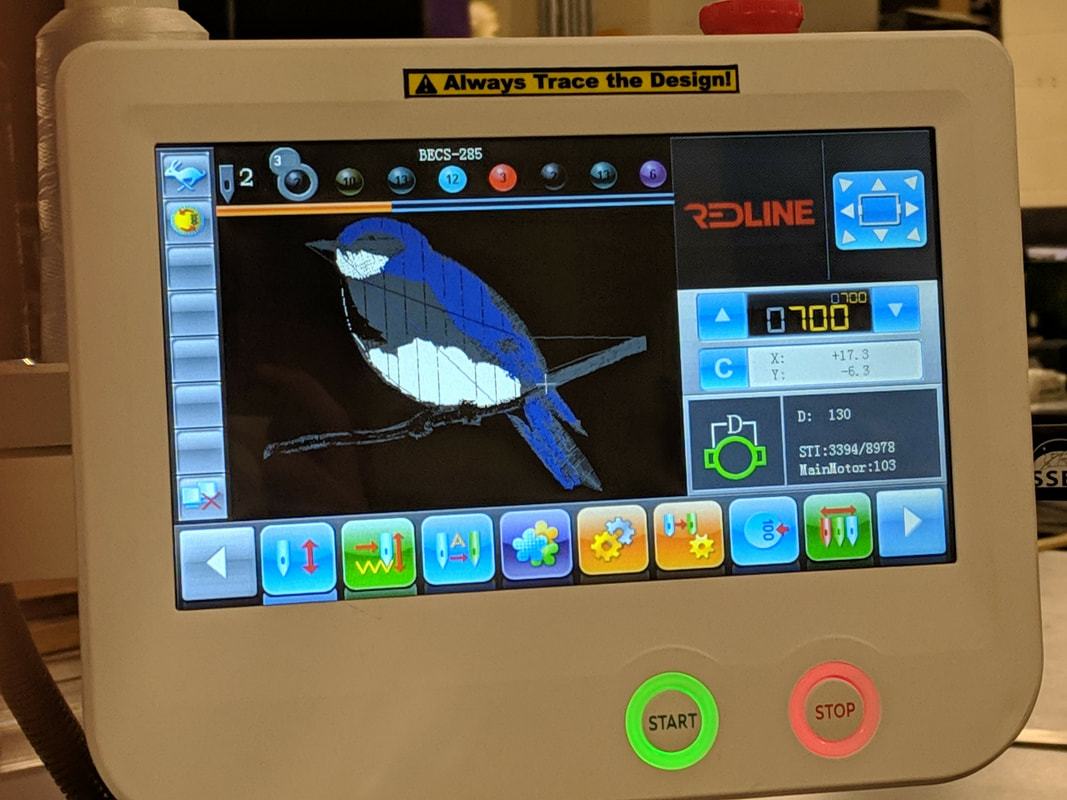
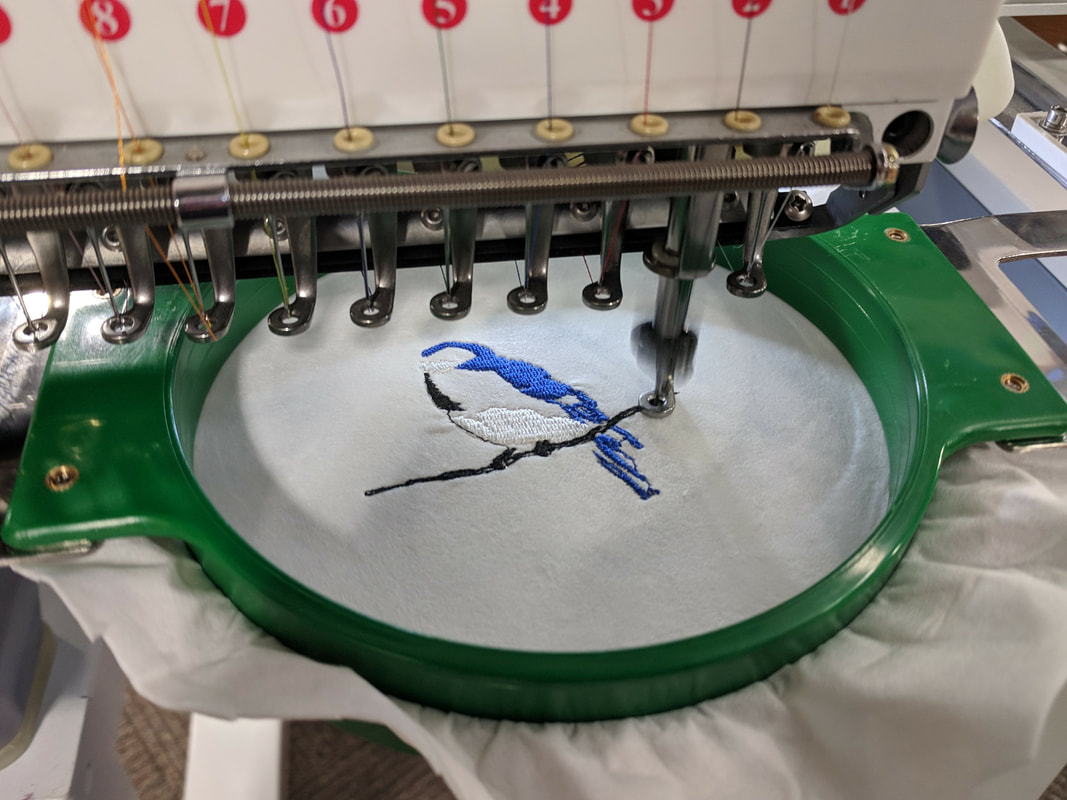
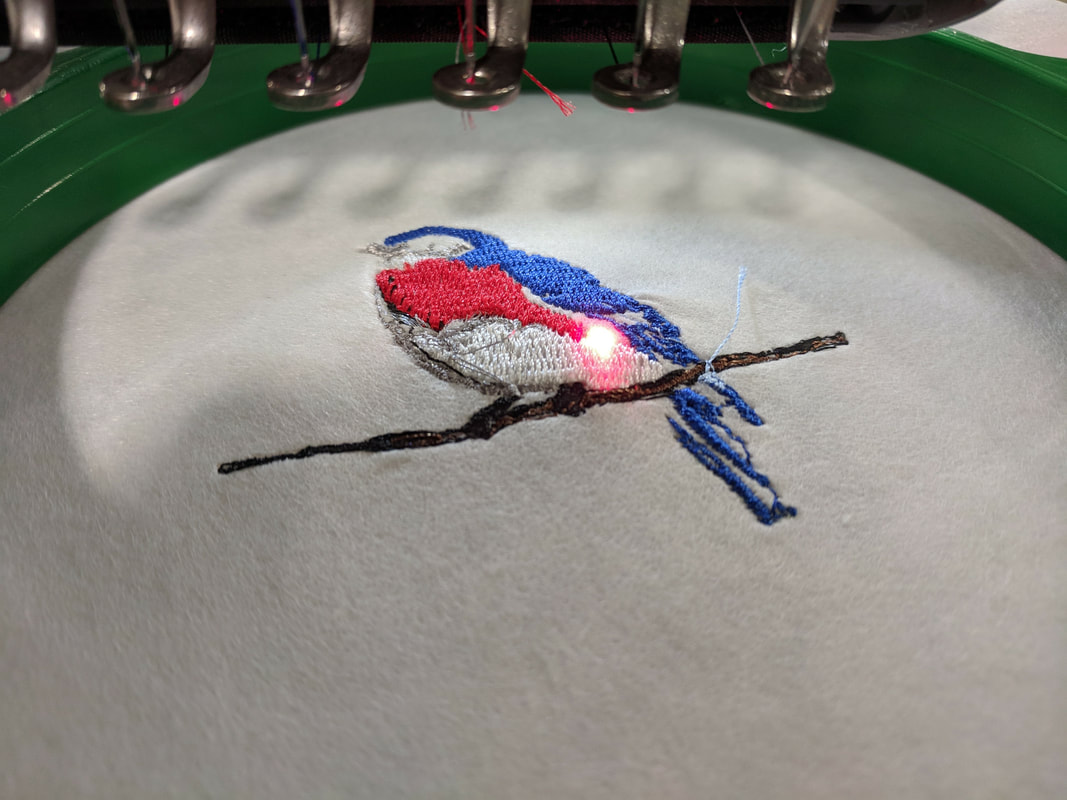
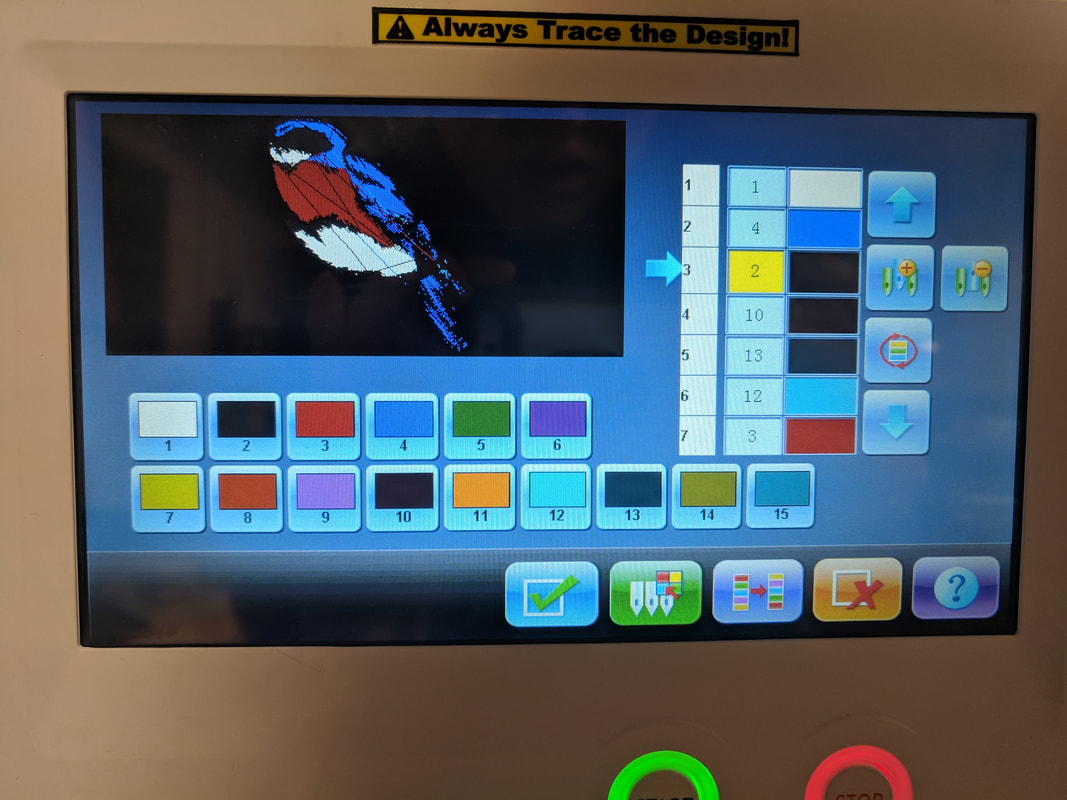
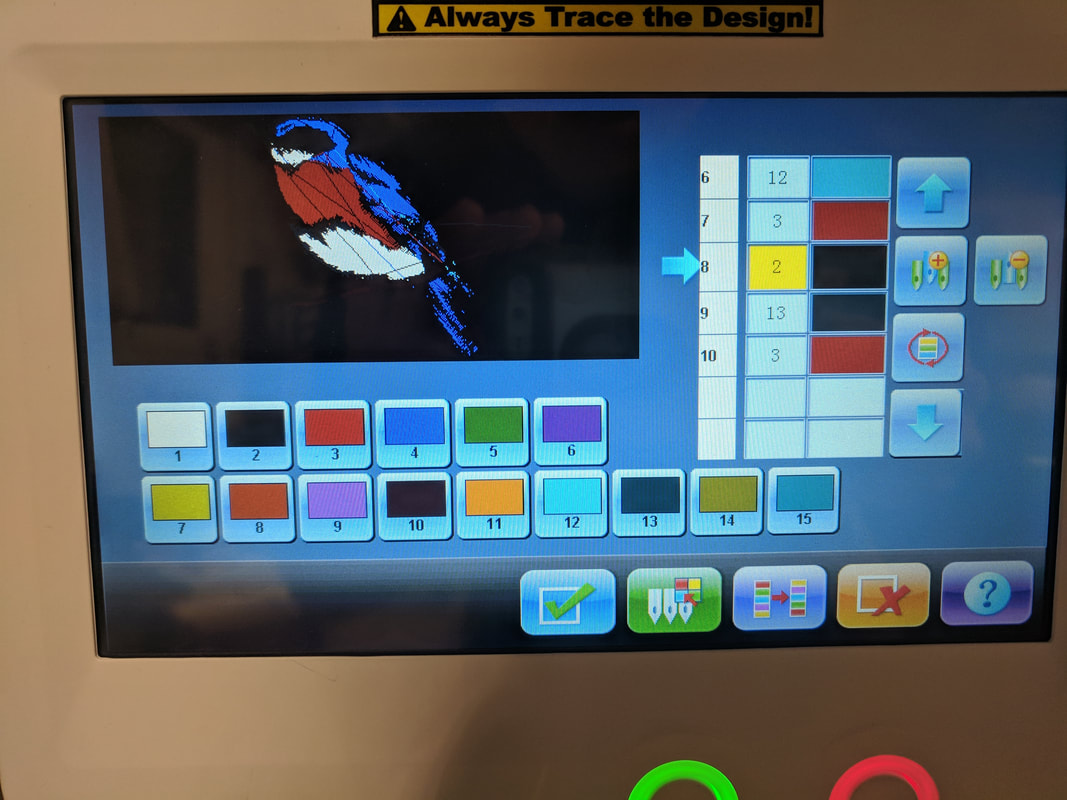
The next step was to select the colors on the design. Each different colored area on the design could be changed into on of the 15 thread colors. After all of the colors were selected, the machine could start embroidering the design. Normally the design could take about 10 to 20 minutes depending on how complicated it was. After the design was finished, the hoop could be taken out and the backing removed. Some of the backing could be trimmed off around the design.
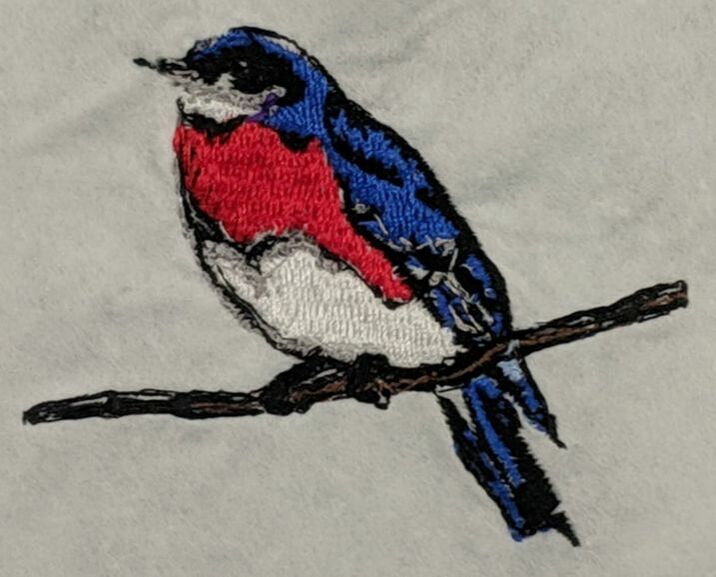
Final Finished Design
I learned how to set up and embroider a design using a machine. The design has to be a DST file, and the colors can be changed on the machine. I also learned that getting things done as soon as possible can be really nice so you don't stress about it in the future, and can focus on other things.
