Final Project
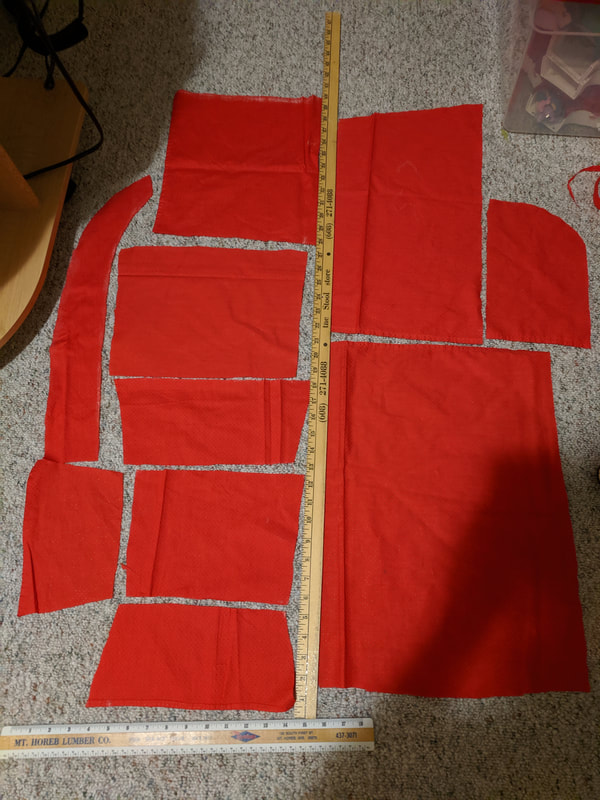
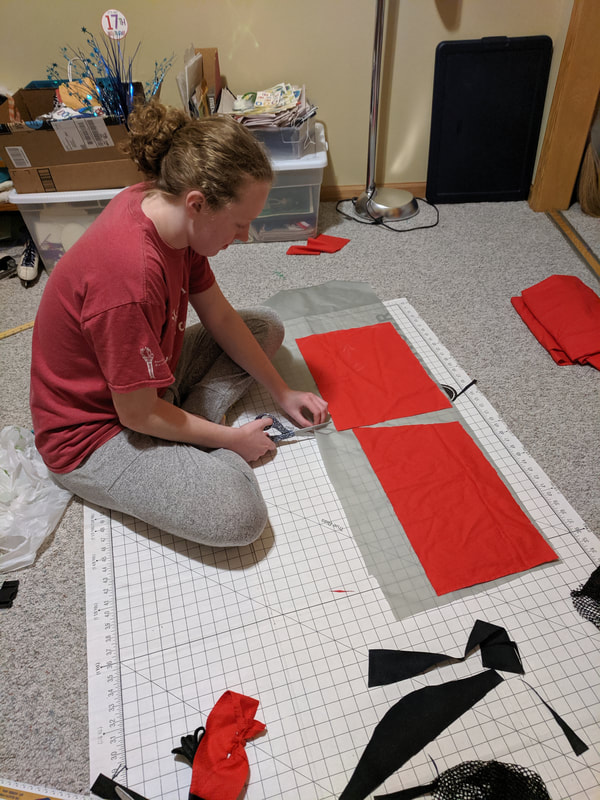
I first thought of making a hiking backpack after looking at store-made ones, and how they could be priced at over $100. I challenged myself with making one using materials under $50. First, I researched one what materials were used in the making of these backpacks, and the design that was used. After I made an initial design, I started making the patterns out of an old tablecloth. I had about 10 patterns made, with several having two or more pieces.
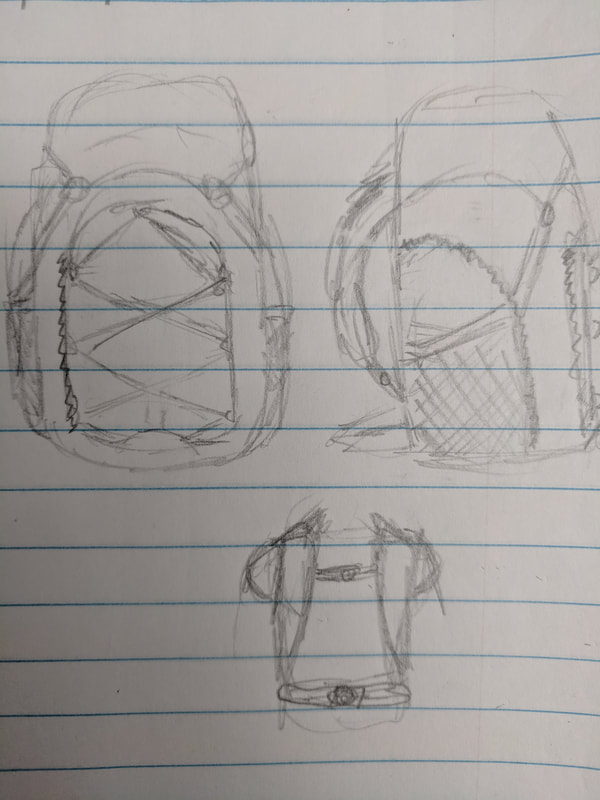
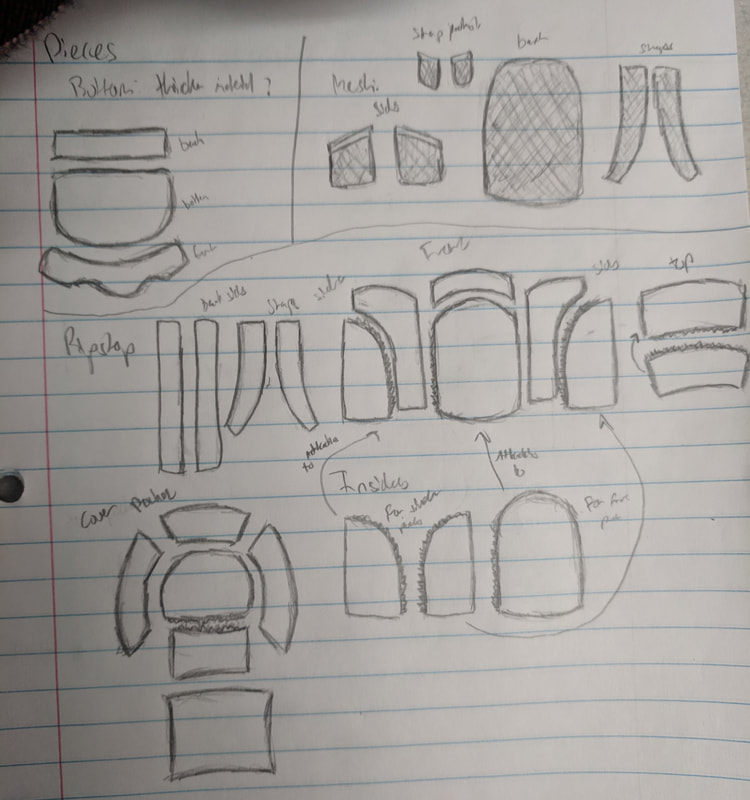
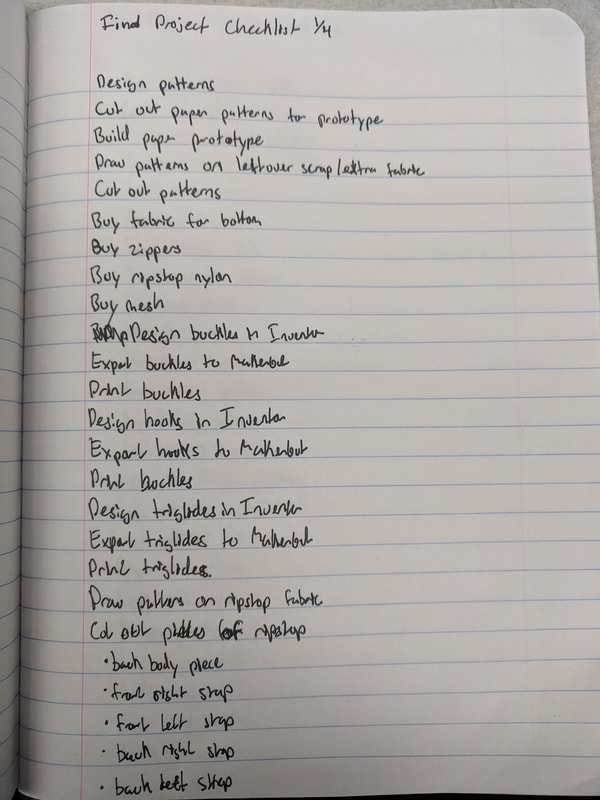
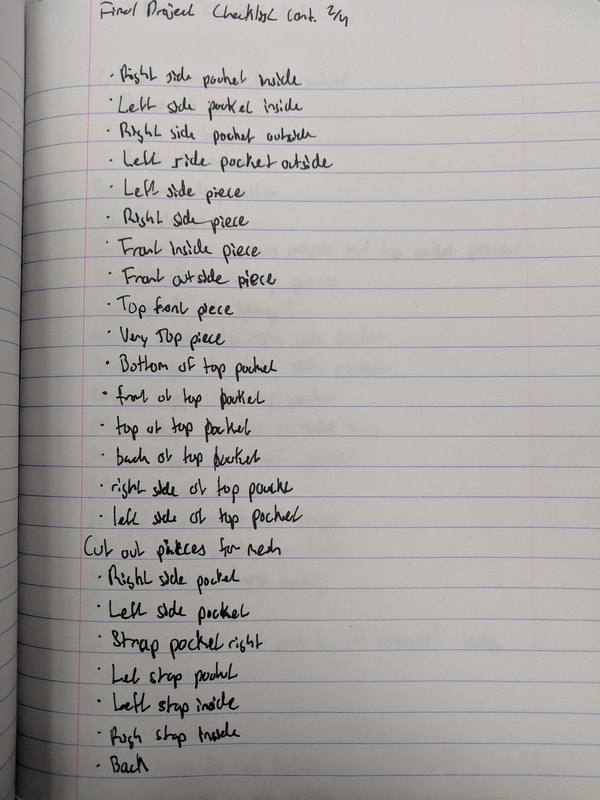
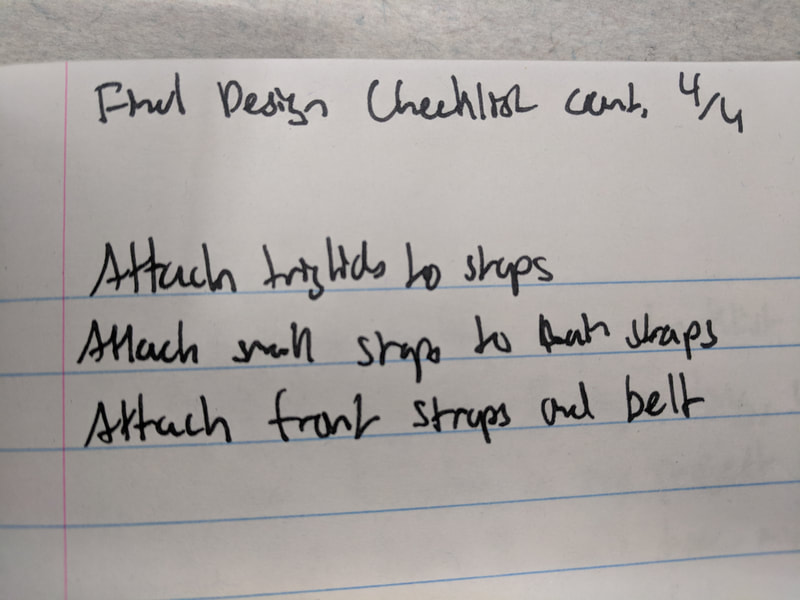
In my designer notebook, I made a list of the steps I had to take to complete the backpack, including pieces that I had to cut out and sew together.

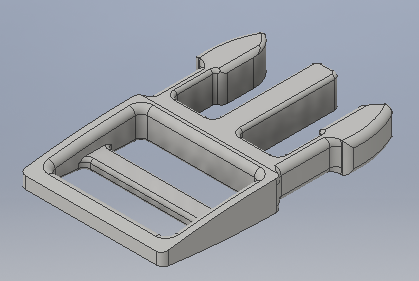
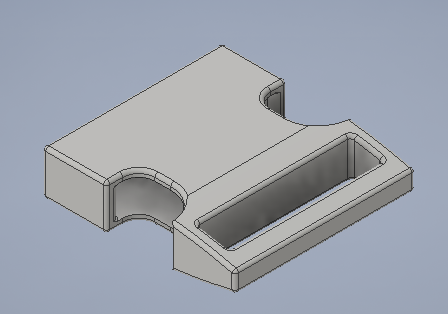
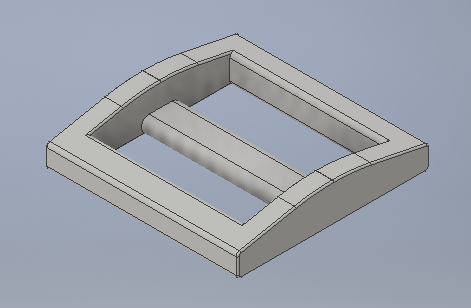
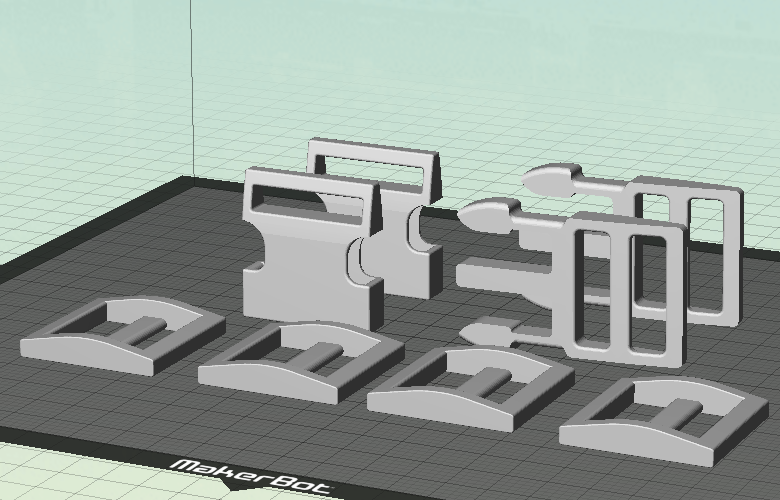
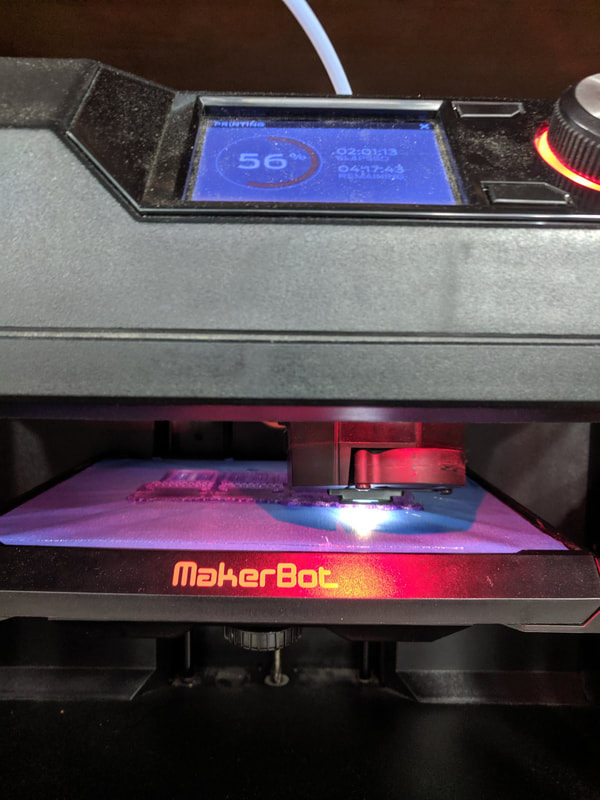
First I made the three pieces in Inventor, then but them into Makerbot. I printed 2 pairs of buckles, along with four triglides. Originally, I planned on using 3D printed buckles and triglides, but after a few times of printing and tweaking the design, I opted to use store-bought buckles. Only the triglides that I printed worked successfully ,and I only used two of those.
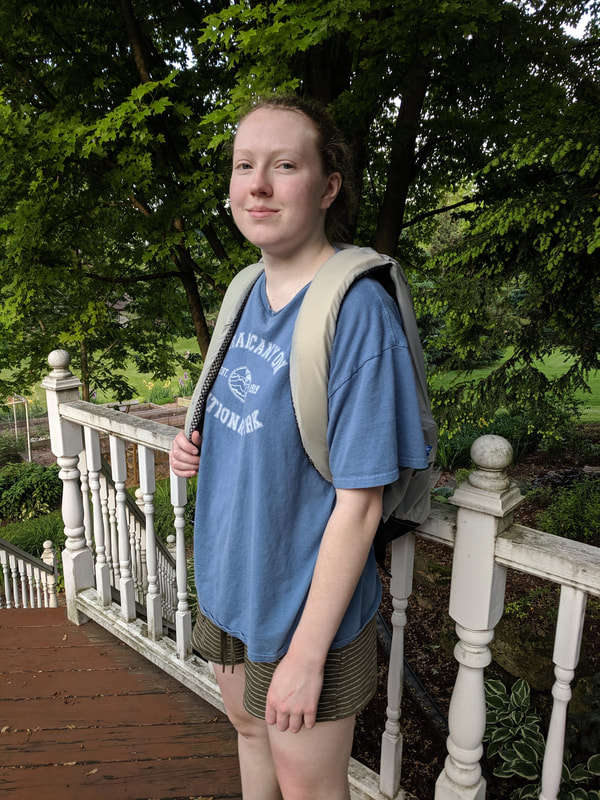
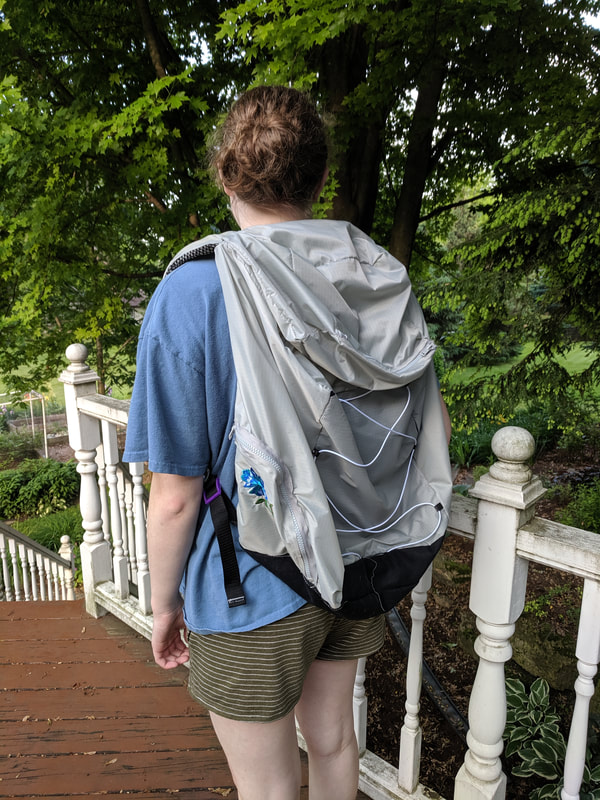
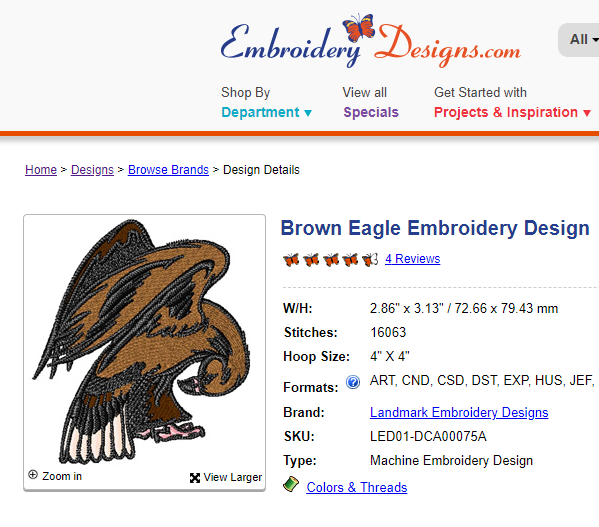
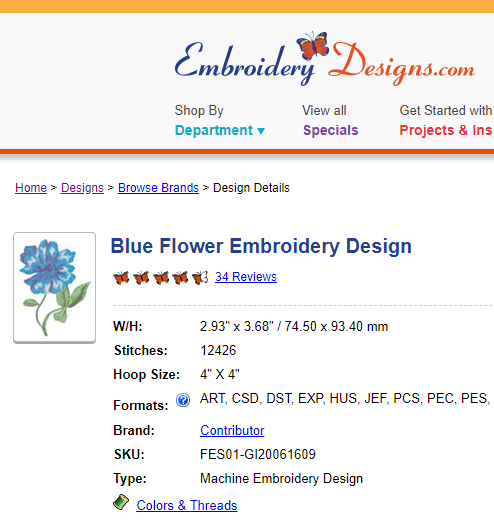
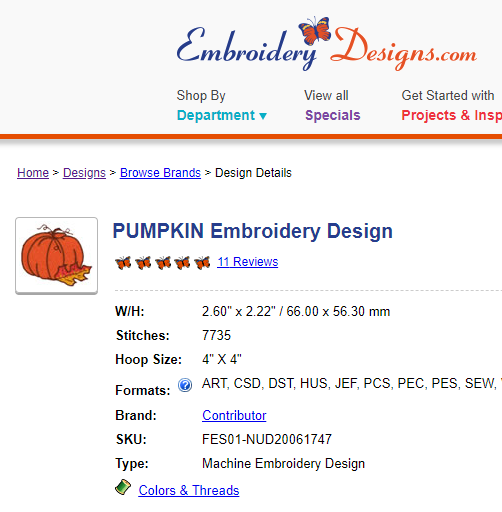
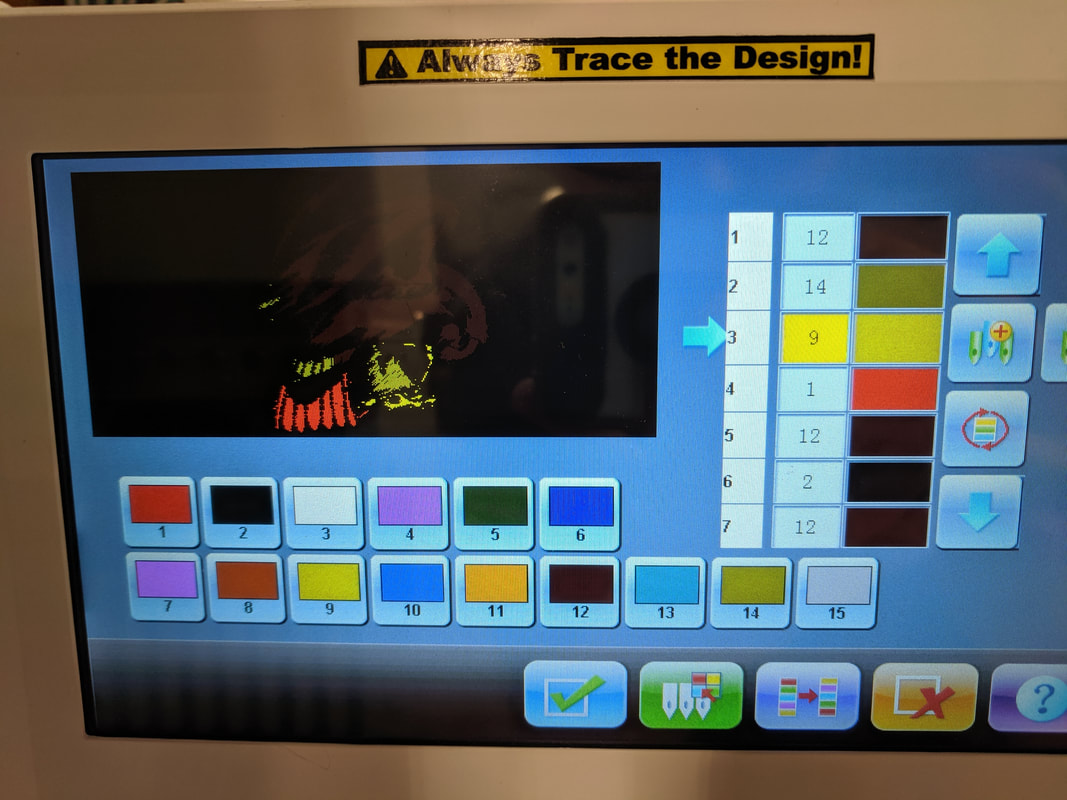
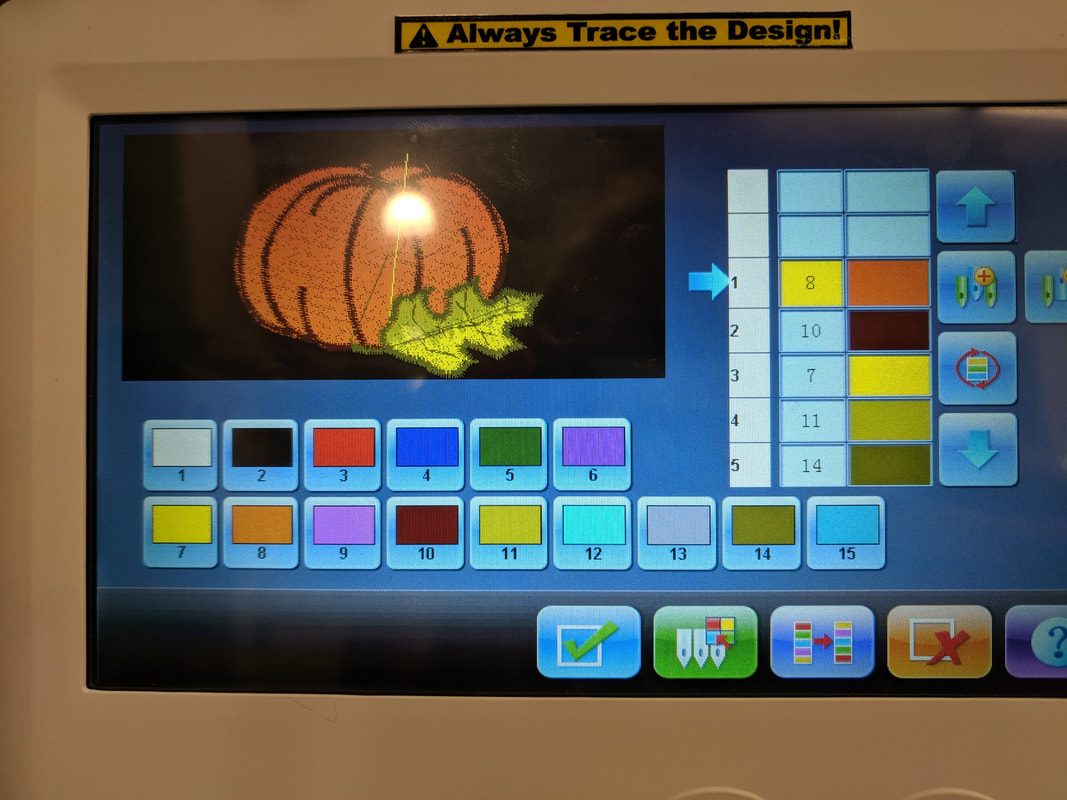
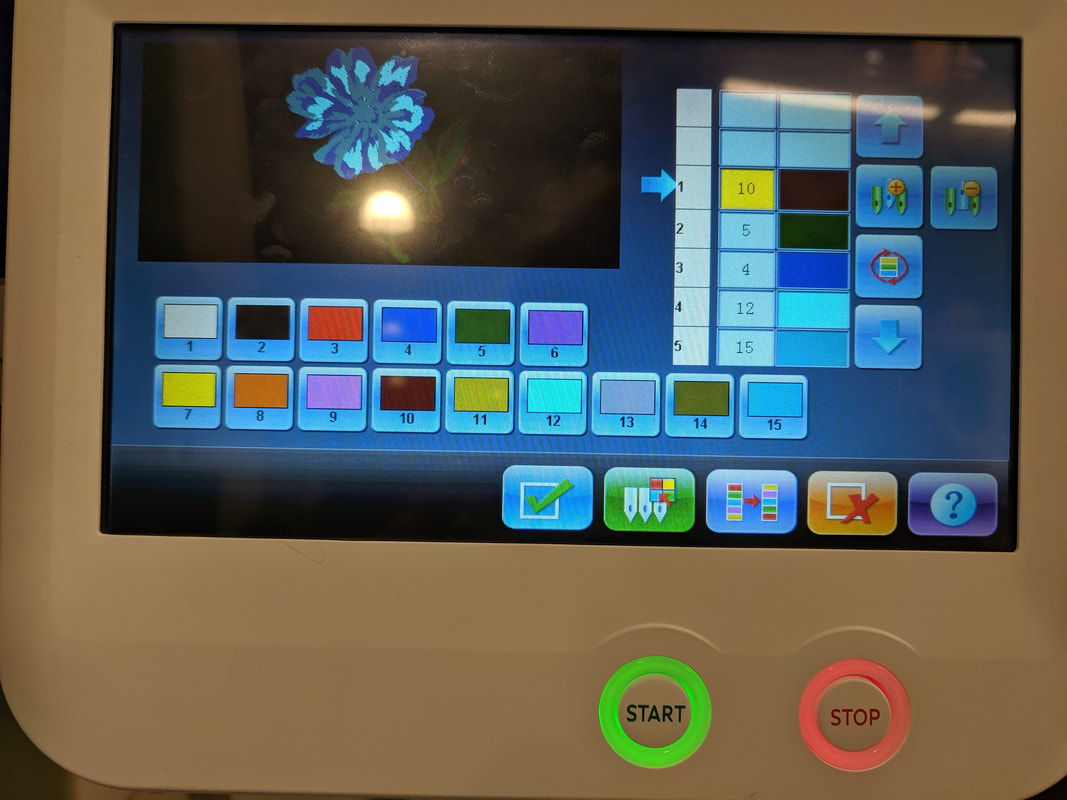
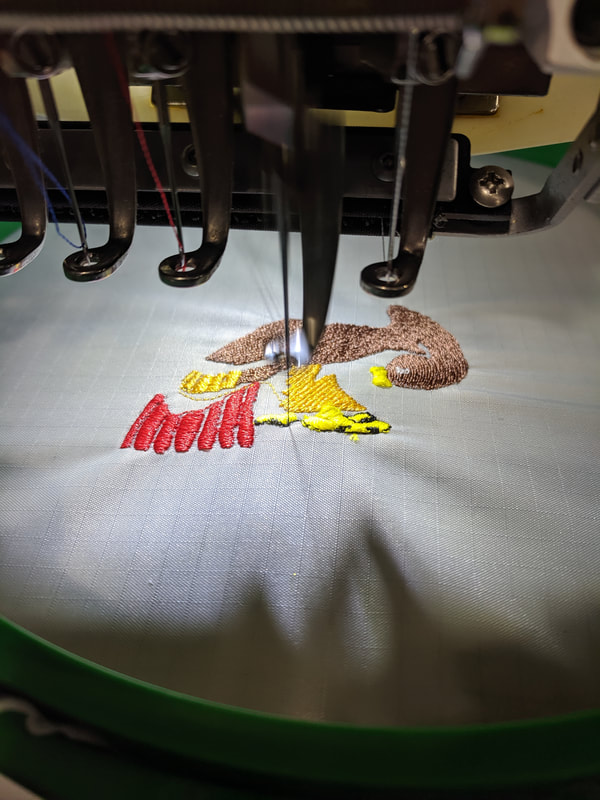
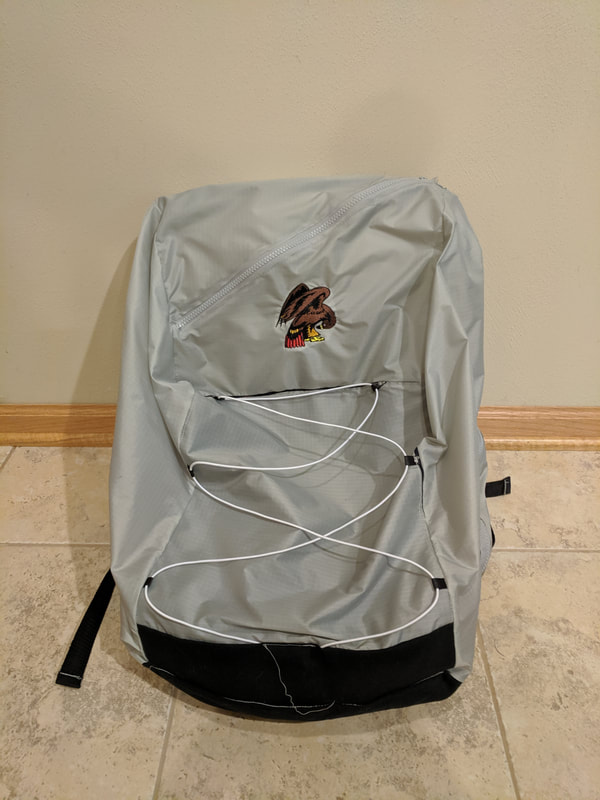
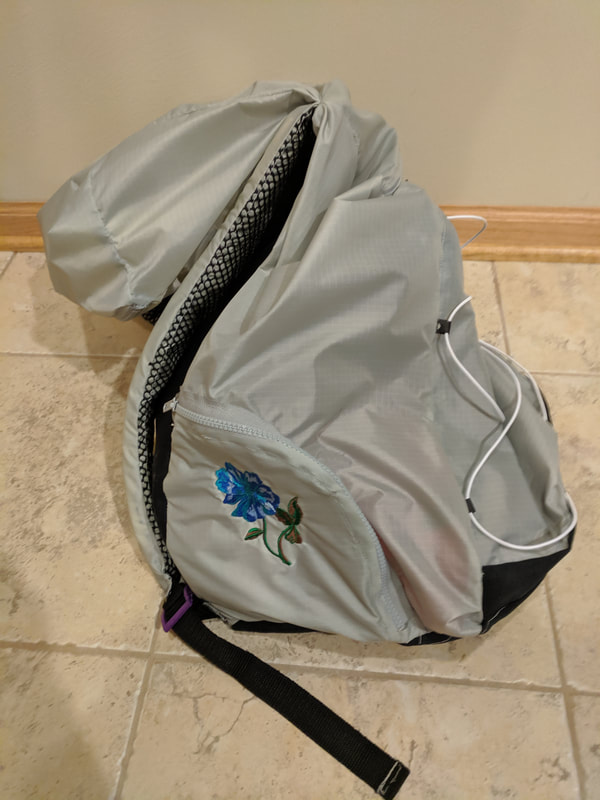
I took three free designs off of a website called Embroidery Designs.com to use on the front and sides of my backpack. I used a design of a bird of prey in the front, and colored it to look like a red tailed hawk, and a flower and a pumpkin on the side pockets.
I uploaded all the designs to the embroidery machine, and picked out the thread colors for each design. I first tested the bird on a piece of scrap backing, and after it worked, I embroidered the bird, then the flower and then the pumpkin in that order.

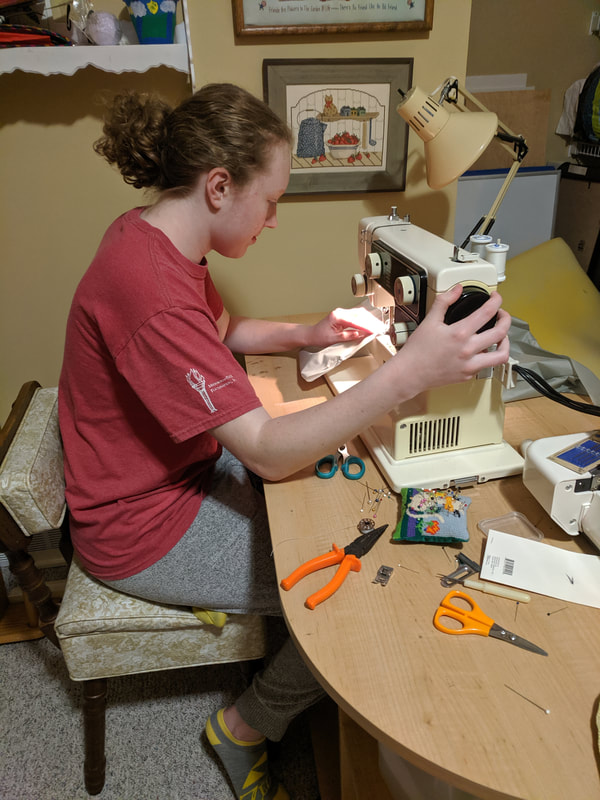
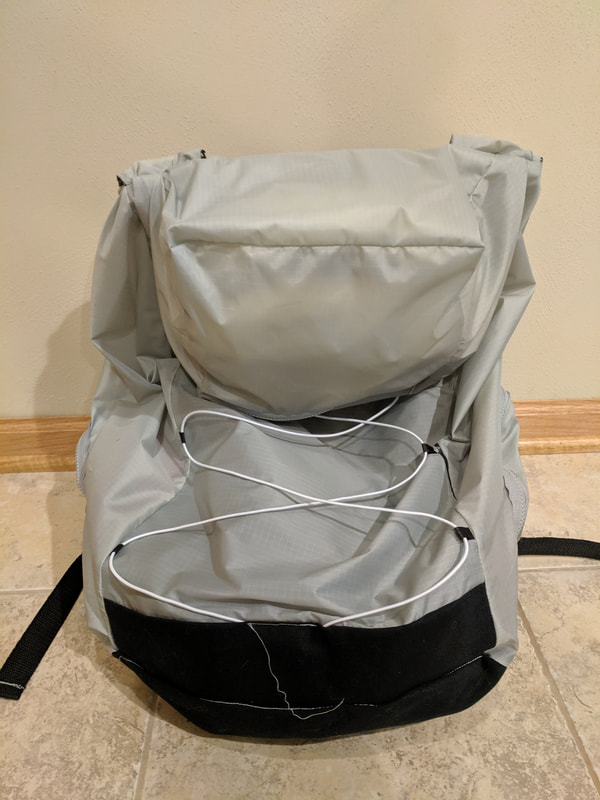
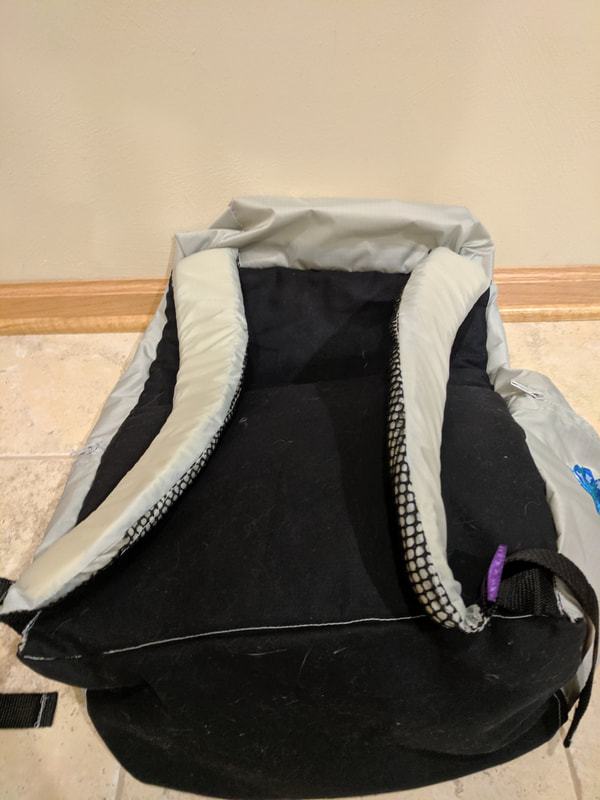
I first pinned some of the pieces together, and attached the zippers. I worked first with joining smaller pieces, and then worked my way to put together larger pieces. After sewing all the pieces together on the sewing machines in the innovation center and at home, I put in the padding in the back and the straps, and measured out the straps and the elastic cord in the front.

The biggest lesson that I learned while doing this project is to never leave things until the last minute, and that those things can take longer than you think they will. Always have a plan and try to stick to it as best you can. I thought that the sewing would only take about four hours to complete, but in the end it was twice that amount of time. I also didn't realize that I would have a lot of complications with the sewing machines both in the innovation center and at home. I also learned more techniques on sewing, and that taking your time on a machine and being slow and careful can really help lessen problems.