Inventor

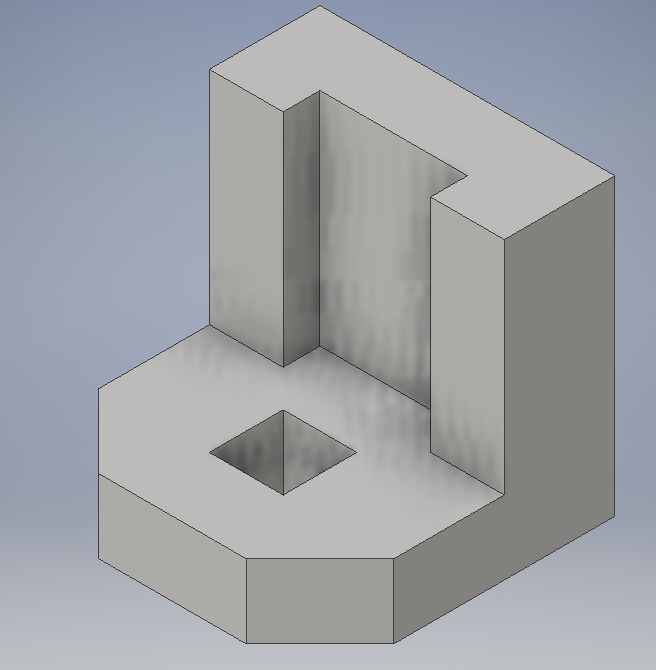
 Widgets #1 and #5
Inventor is a software that can build almost anything 3-D, and animate it. You can start with a simple square, then cut into it to form more complex shapes. It is a very diverse program, and can be used by from students, all the way to designers to make airplanes. There are three major steps to Inventor: Sketch, Dimension, Extrude. First you must sketch in 2-D to get a flat design, then dimension the sketch to the exact size. After you finish the 2-D sketch, you extrude it into a 3-D shape. Repeat the process over until you have the design you wanted.
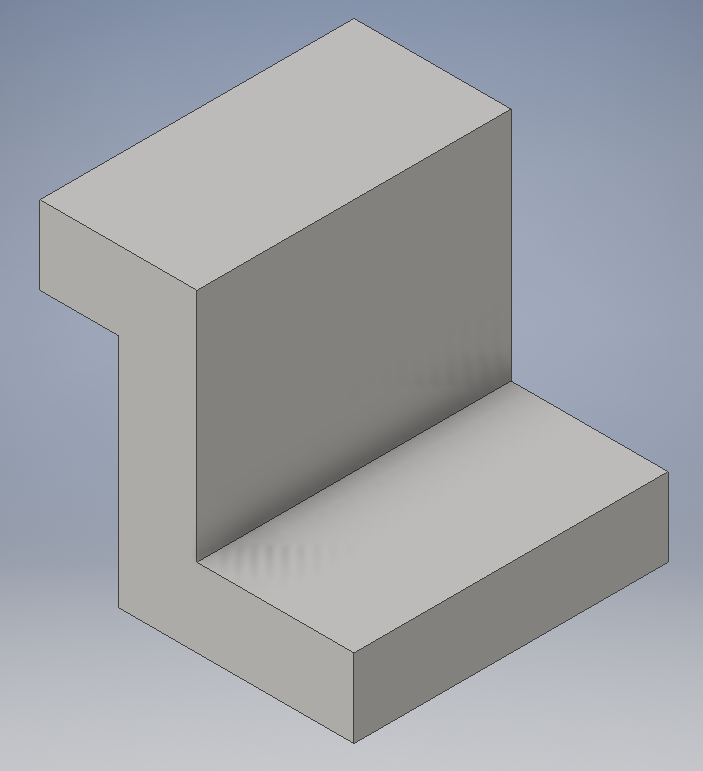
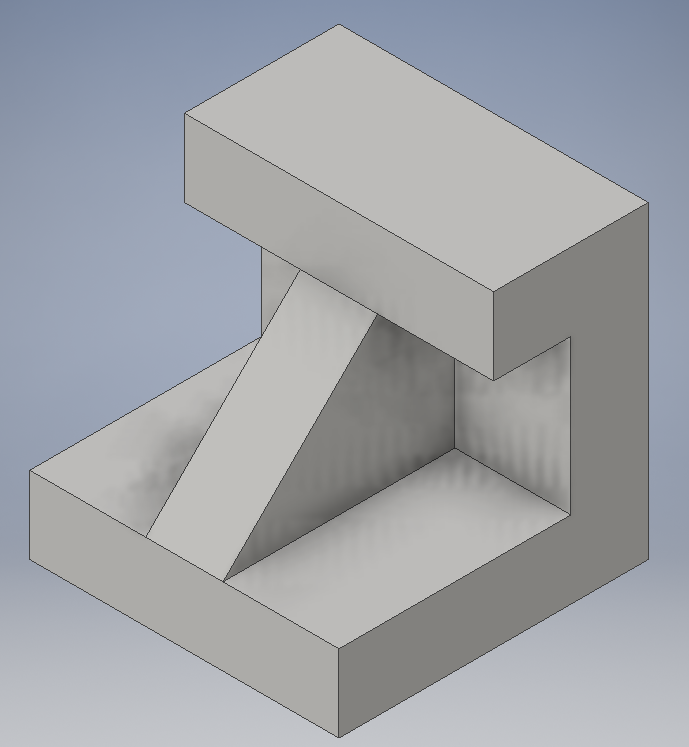
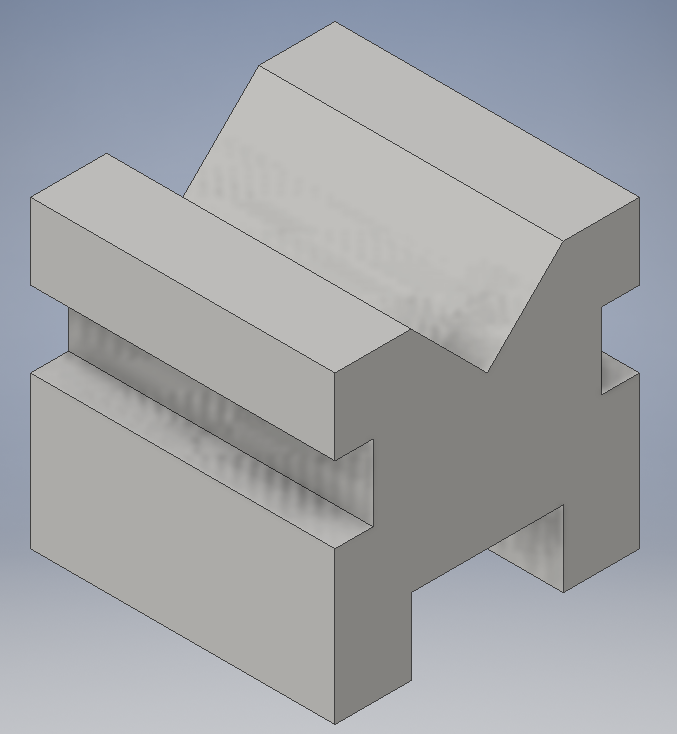
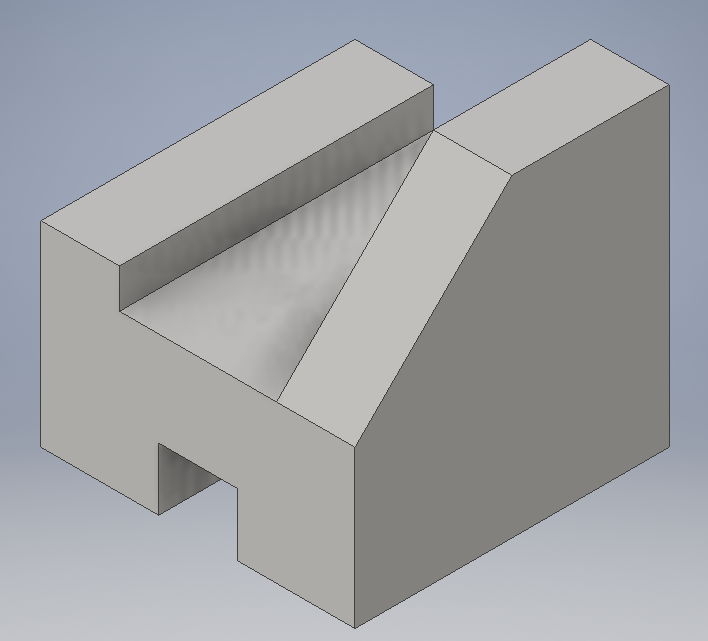
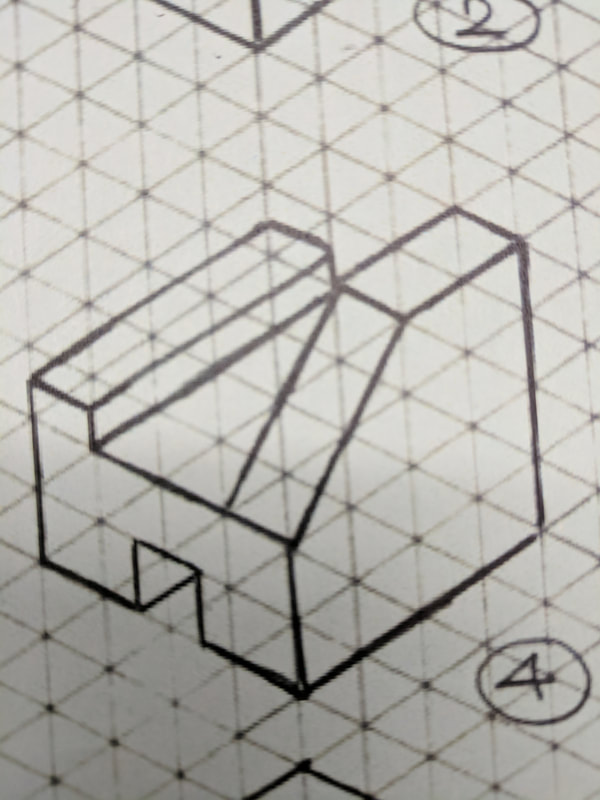
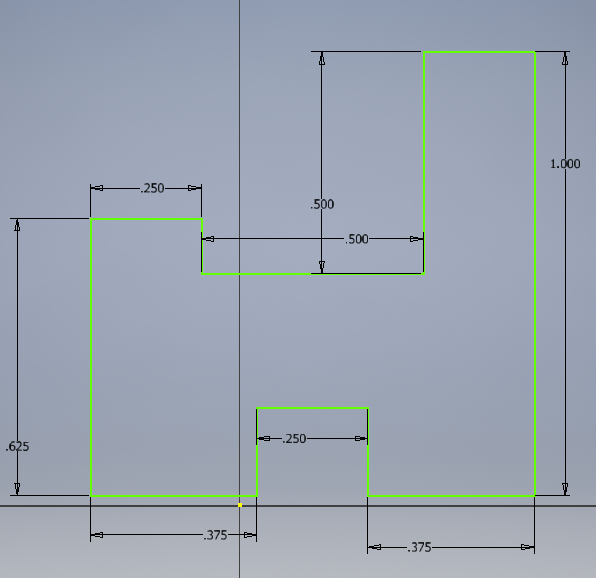
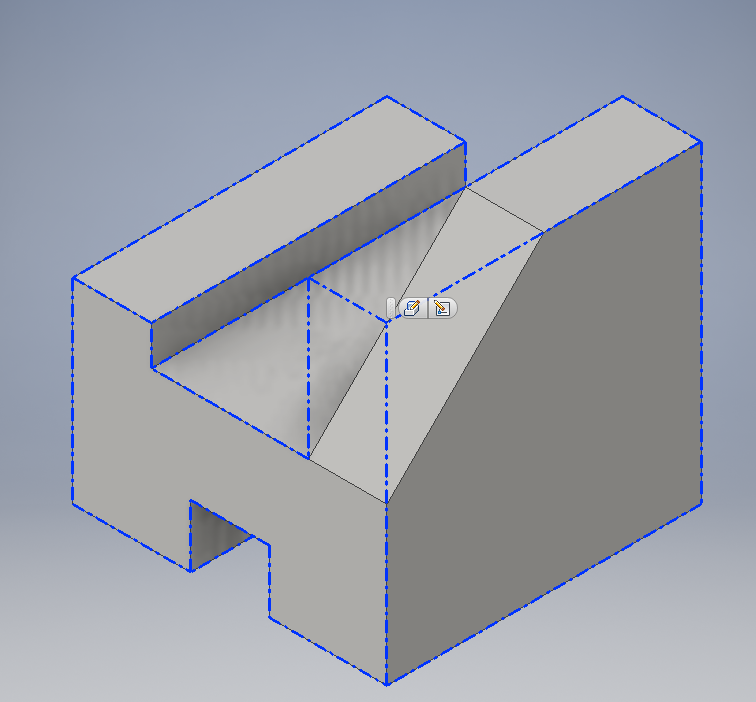
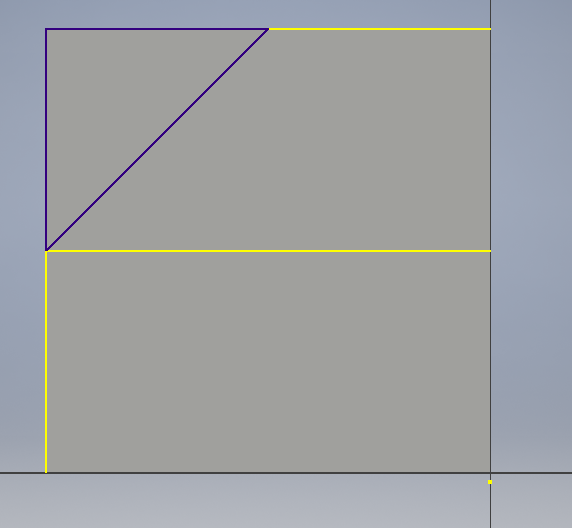
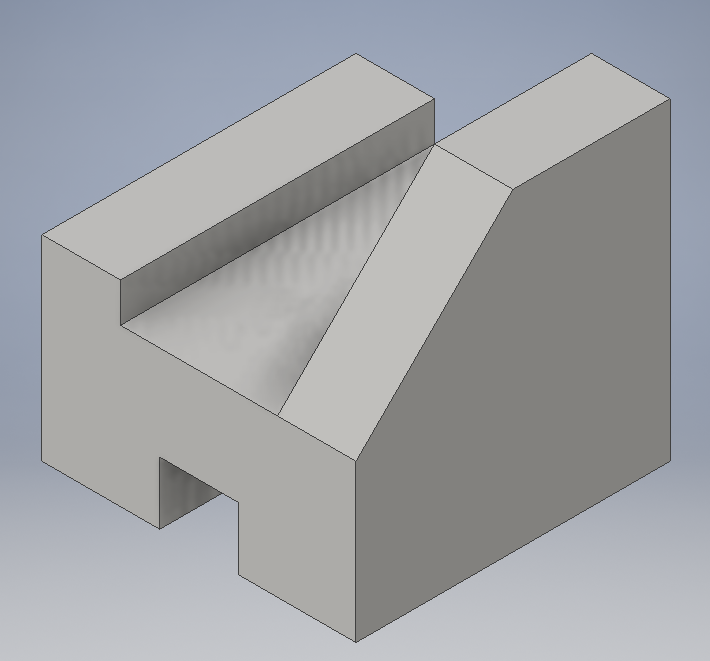
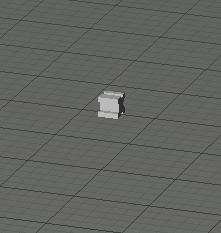
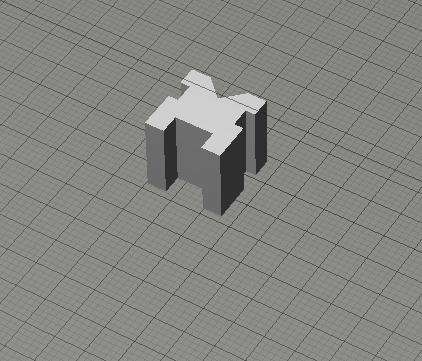
In IDEA class, we had to draw six widgets in Inventor. Here is how I drew Widget #4: First I started in the XY plane, and sketched out my initial design there. Then I dimensioned it and finished the sketch. I extruded the first sketch, then began on the second sketch on the right face. I dimensioned and finished the second sketch, and then extruded it.
In IDEA class, we had to draw six widgets in Inventor. Here is how I drew Widget #4: First I started in the XY plane, and sketched out my initial design there. Then I dimensioned it and finished the sketch. I extruded the first sketch, then began on the second sketch on the right face. I dimensioned and finished the second sketch, and then extruded it.
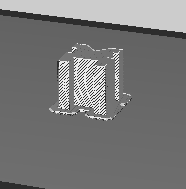
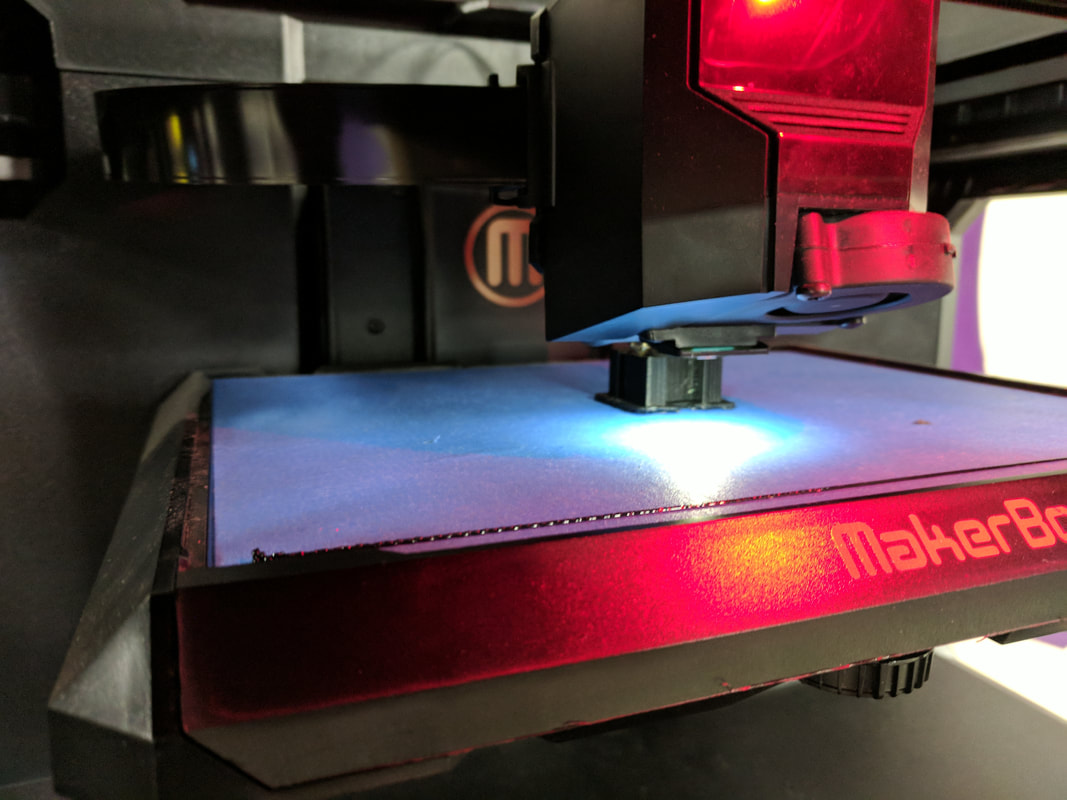
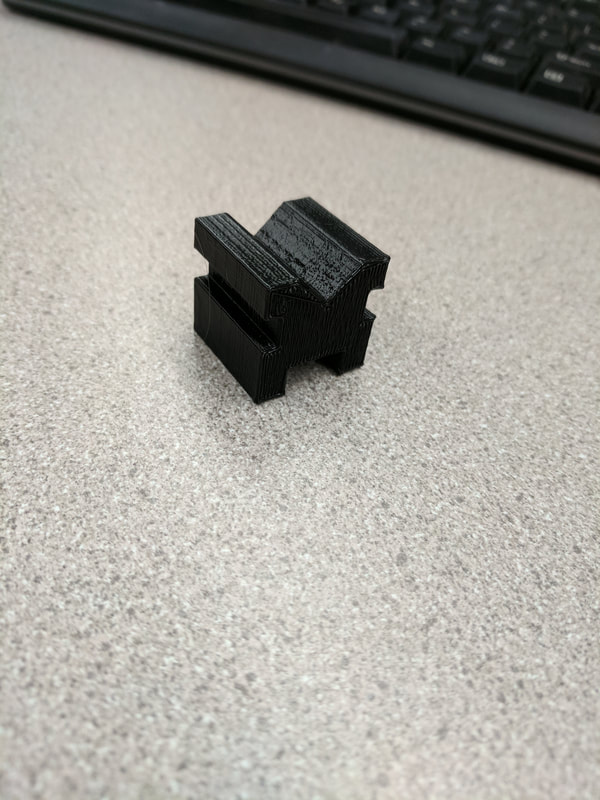
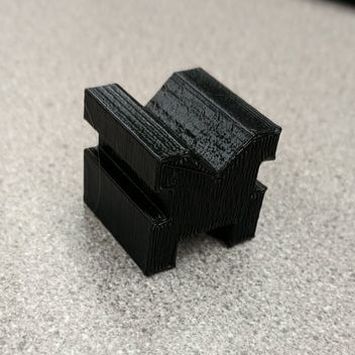
Once I finished making all my widgets in Inventor, I converted Widget #3 to an STL (Standard Tessellation Language), and saved it on my computer. That next step was to open it in Makerbot, a program that runs with the Makerbot 3-D printers. I have to scale it up, since it could barely be seen. However, I have to rearrange it where there would be little to no overhangs, so I rotated and moved the widget around until it was in a good position. After finishing I saved it to my computer, and uploaded it to my flash drive. I plugged in the flash drive to the Makerbot printer, and got it ready to start printing. The whole process to around 45 minutes for it to be done.
During this process, I learned how to make something 2D in Inventor, then turn it into a 3D object. Then to send it to a flash drive, and upload it on the 3D printer. Last, you have what you made on a computer, but now its not just code, it's something physical that you can use!
During this process, I learned how to make something 2D in Inventor, then turn it into a 3D object. Then to send it to a flash drive, and upload it on the 3D printer. Last, you have what you made on a computer, but now its not just code, it's something physical that you can use!